Vegantune

All posts tagged Vegantune

Chassis Clean

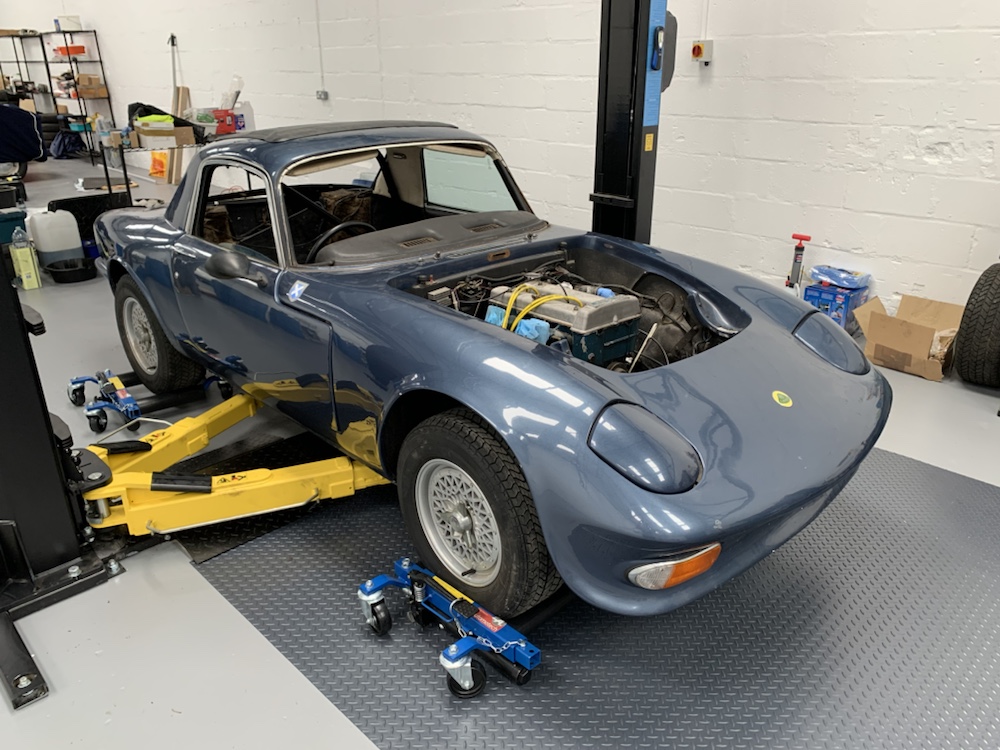
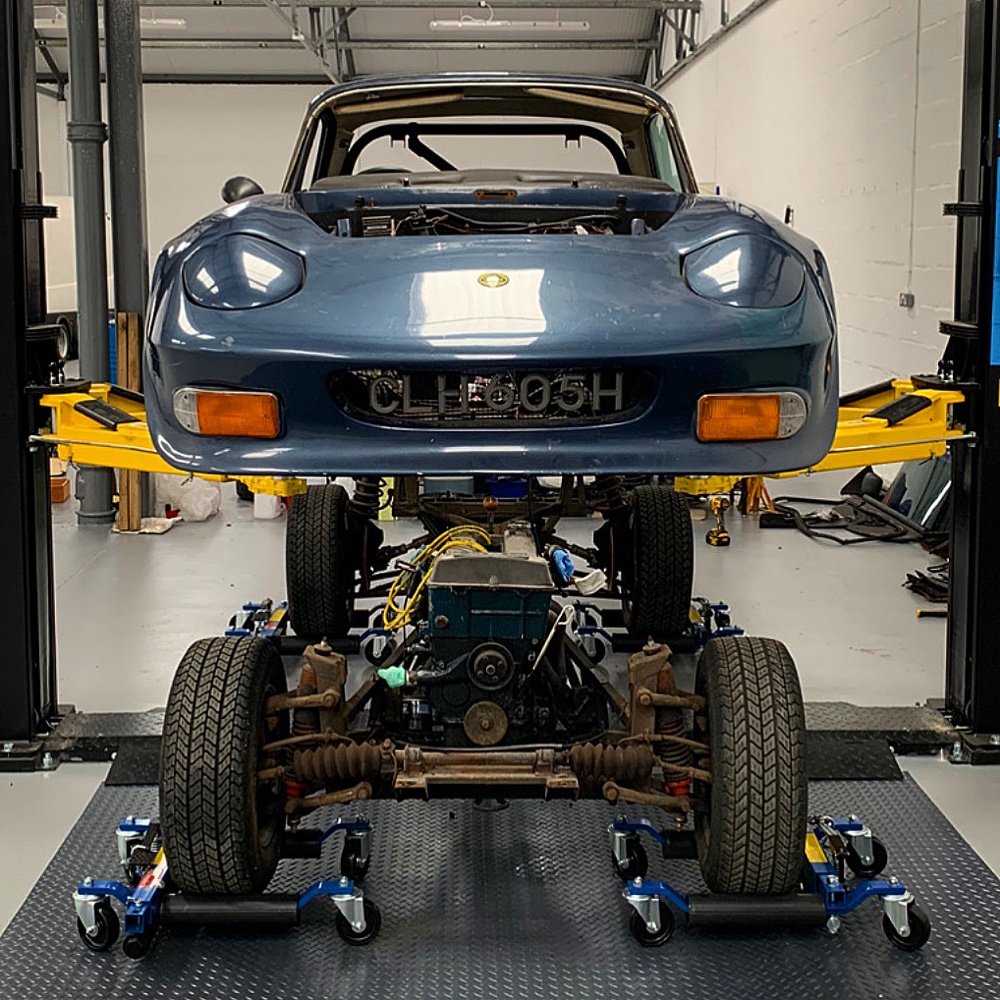
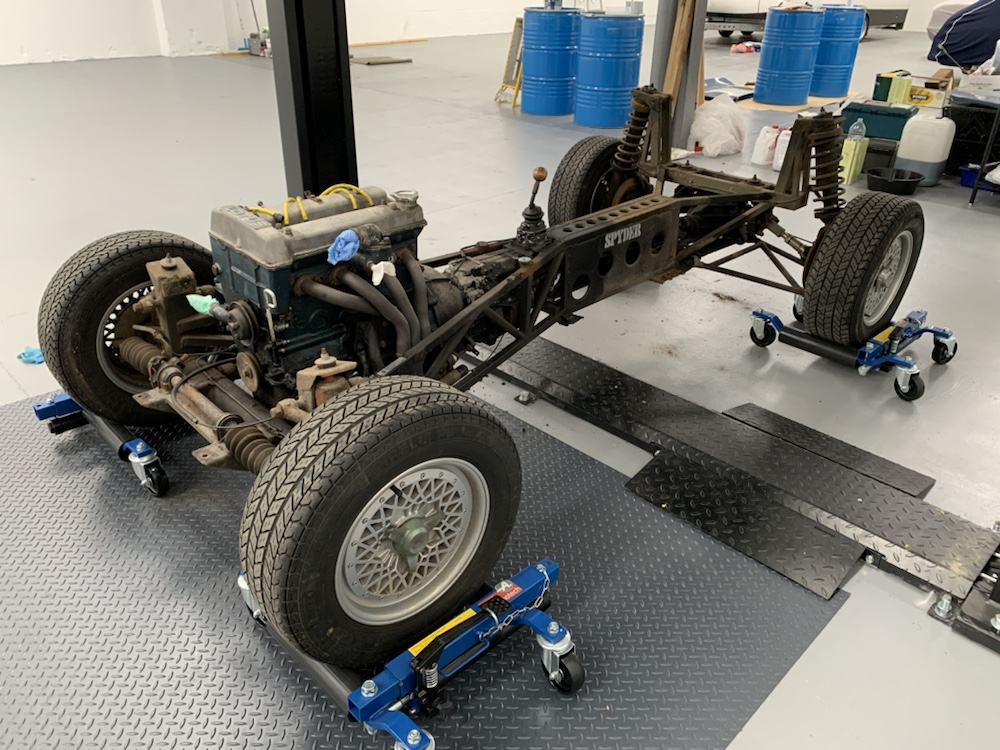
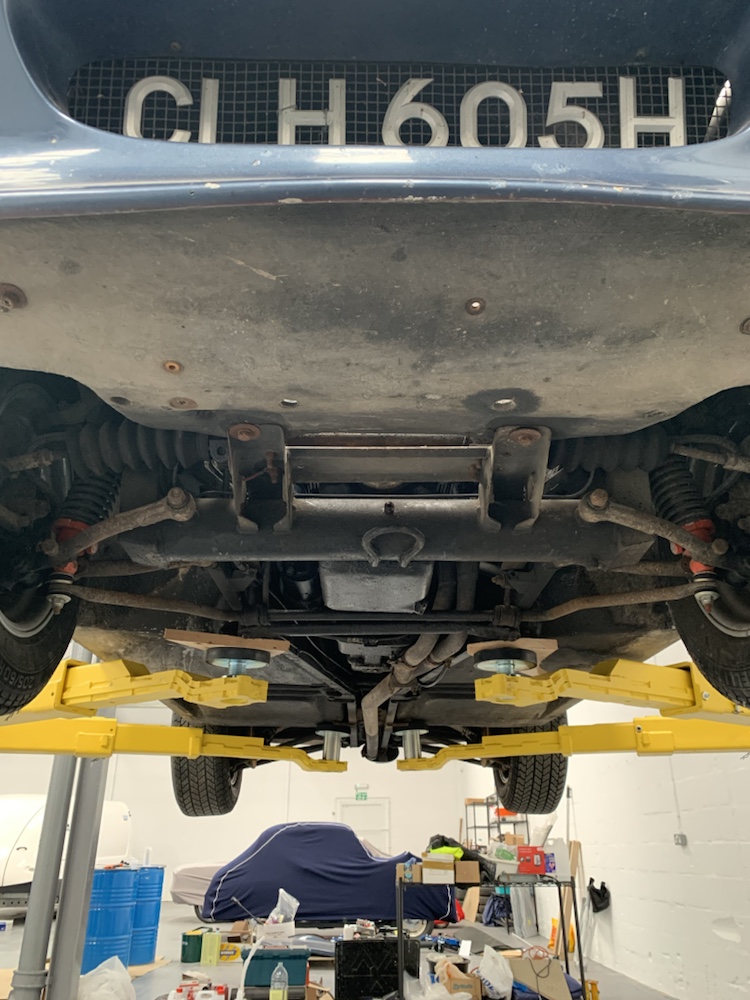
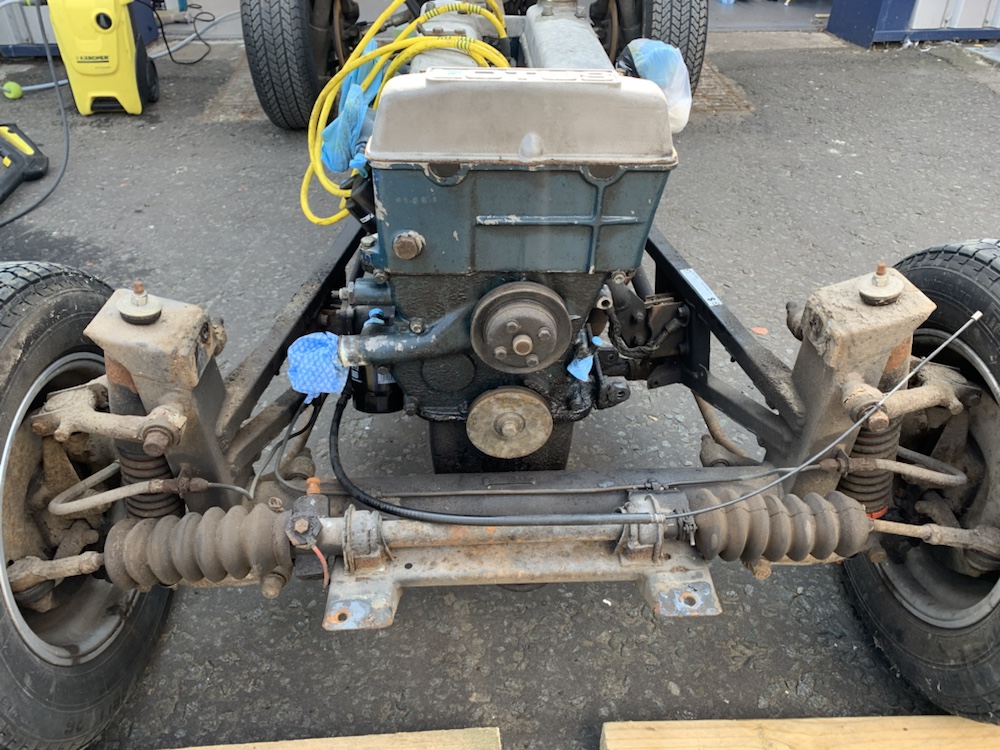
With the rolling chassis free from the body, I was able to give it a good look over from all angles for the first time.

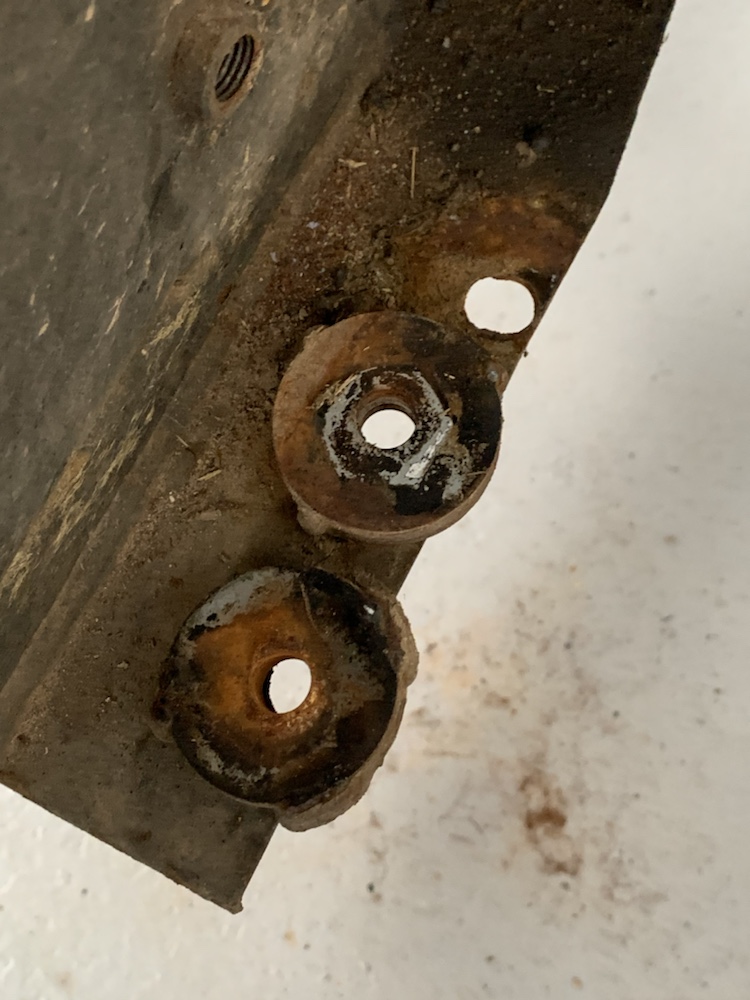
Clearly the diff has a leak and the oil film from this has combined with road grime to create a thick greasy film all over the casing. Also a ridiculous build up of muck on the tail of the chassis.

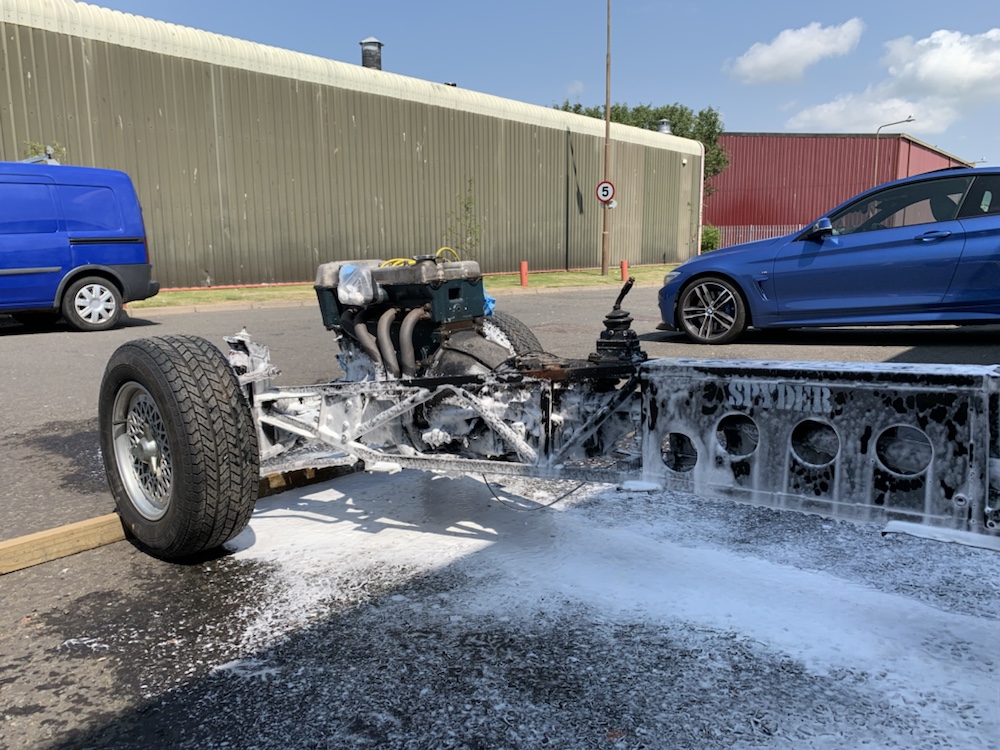
Decided the most sensible course of action, so I had something I could touch without immediately getting filthy, was to wheel her outside and let the jet wash go to work.

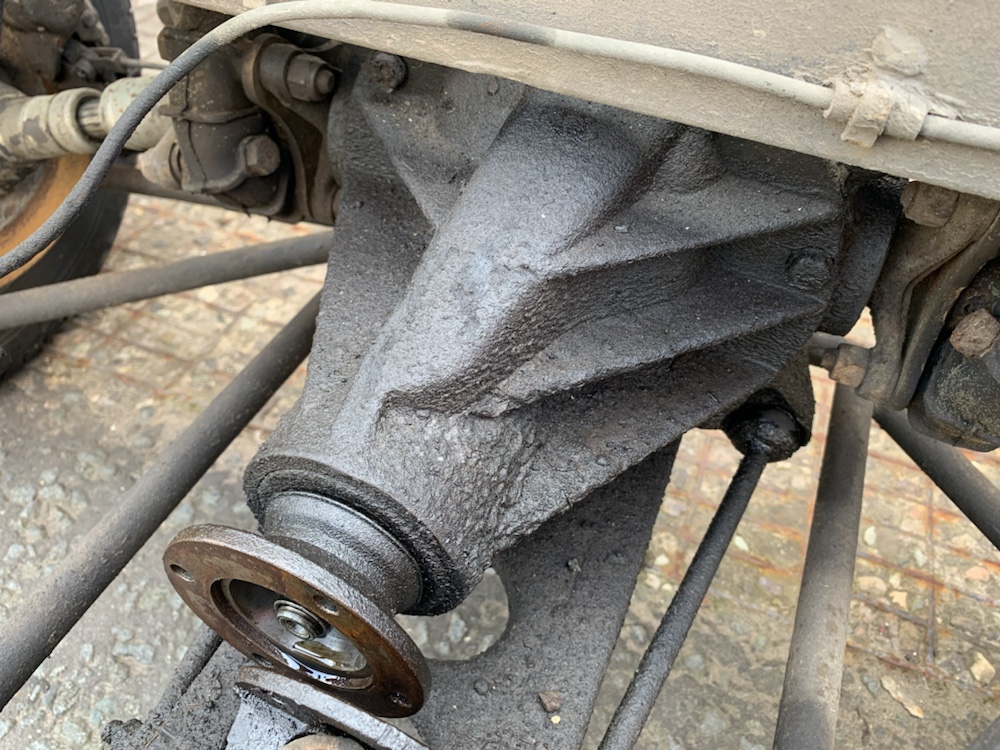
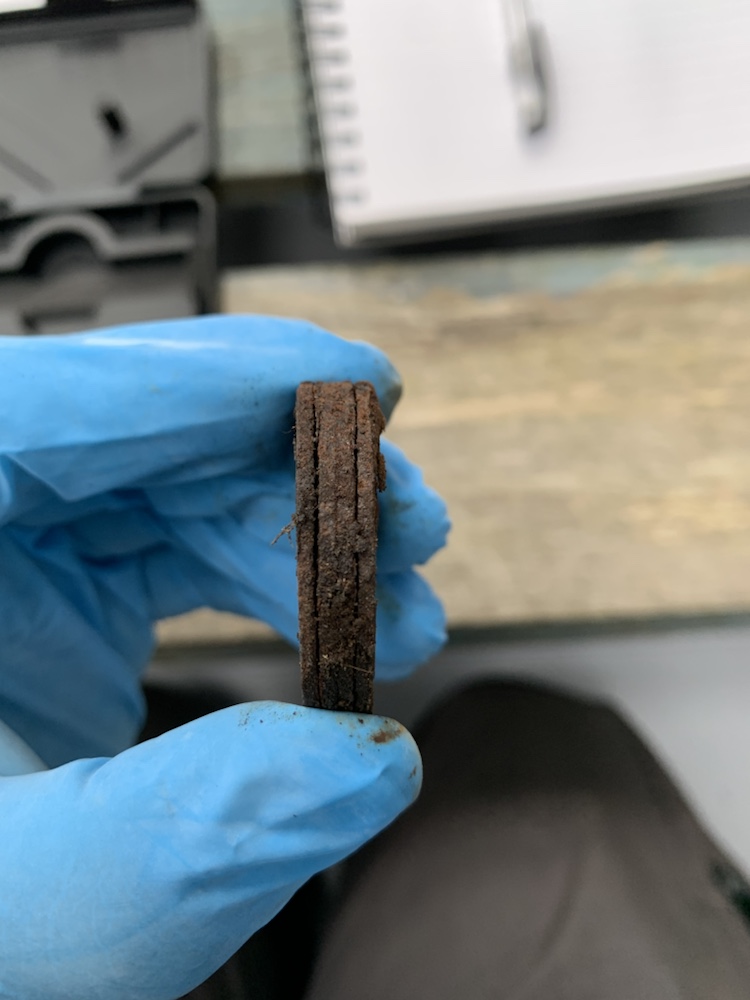
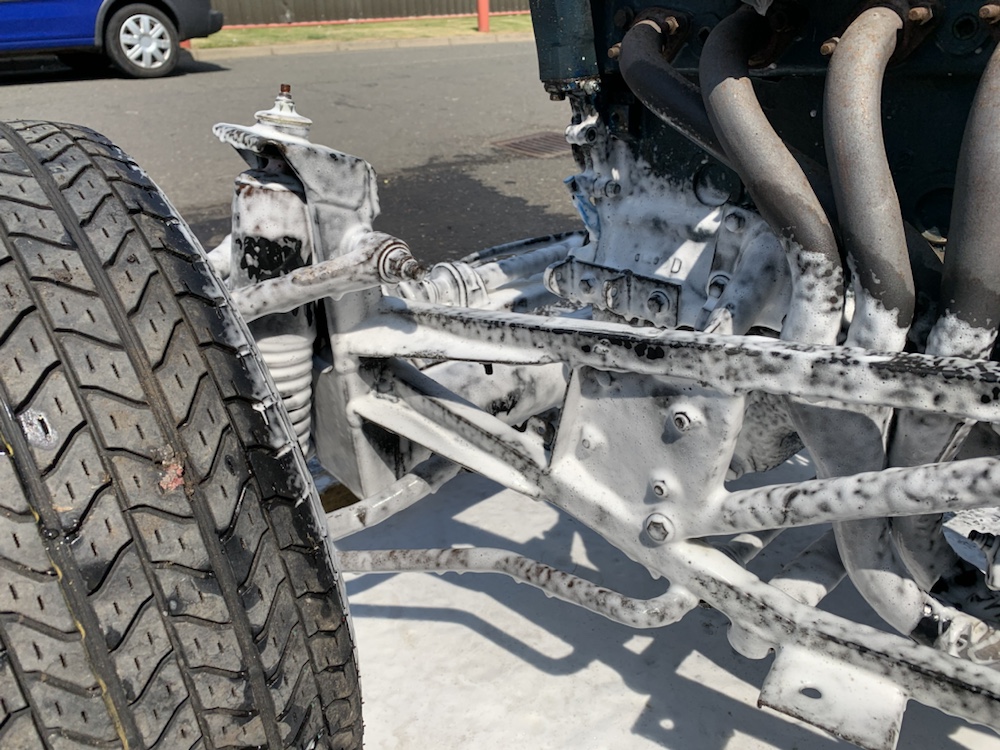
Disconnecting the prop to let it roll freely confirmed the diff’s nose seal is leaking quite significantly.

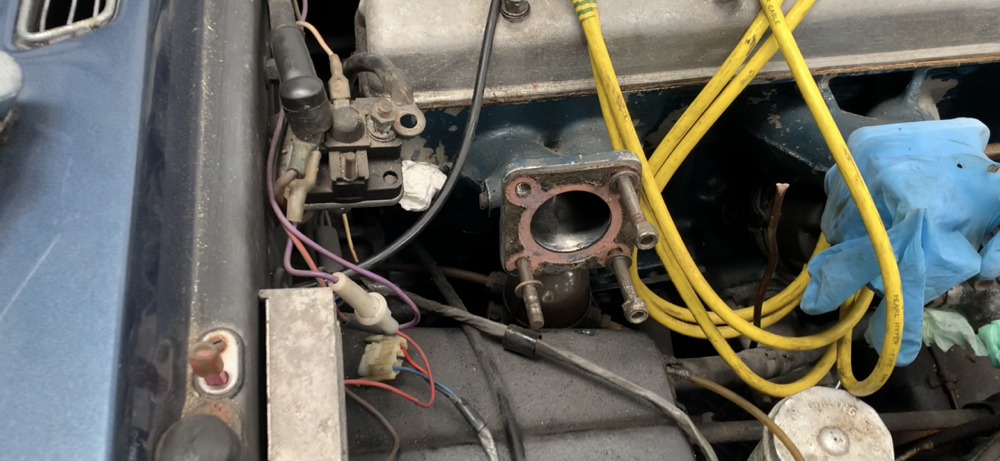
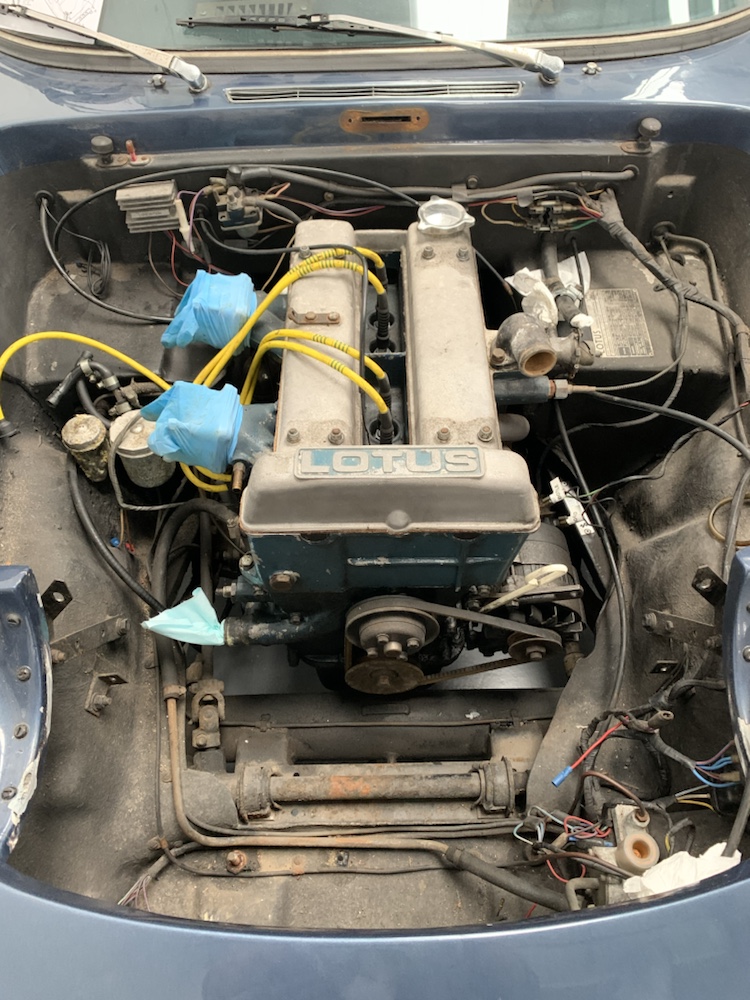
Cast off rubber gloves used to plug the engine’s openings and any areas I didn’t want to risk getting wet. Even though I wasn’t spraying the engine itself, it’s a sensible precaution.

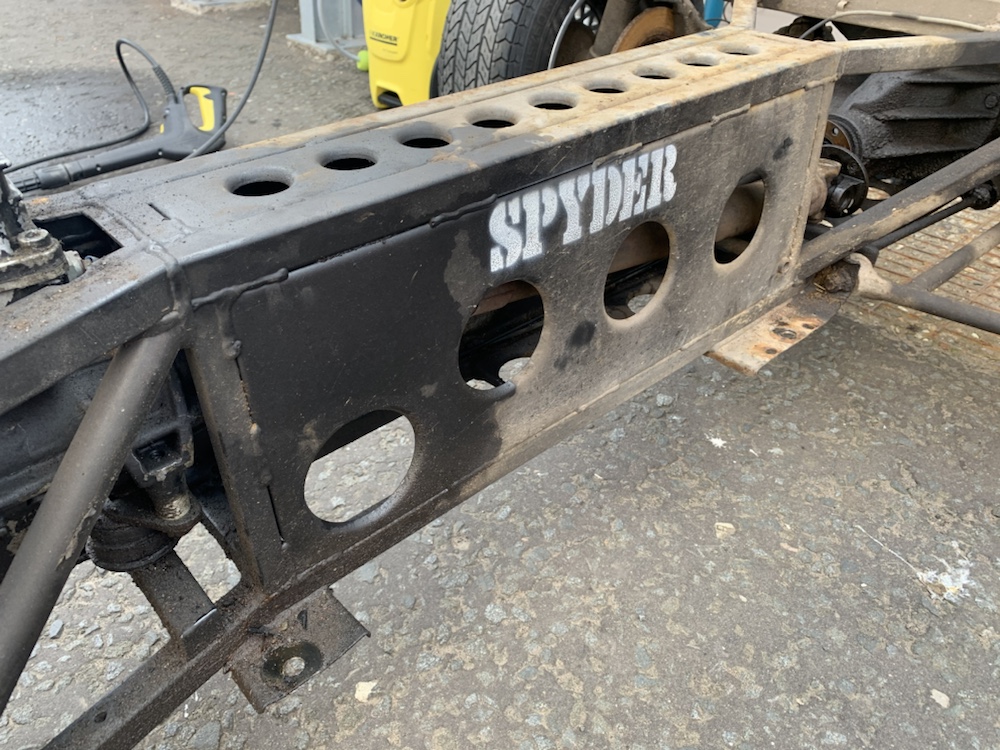
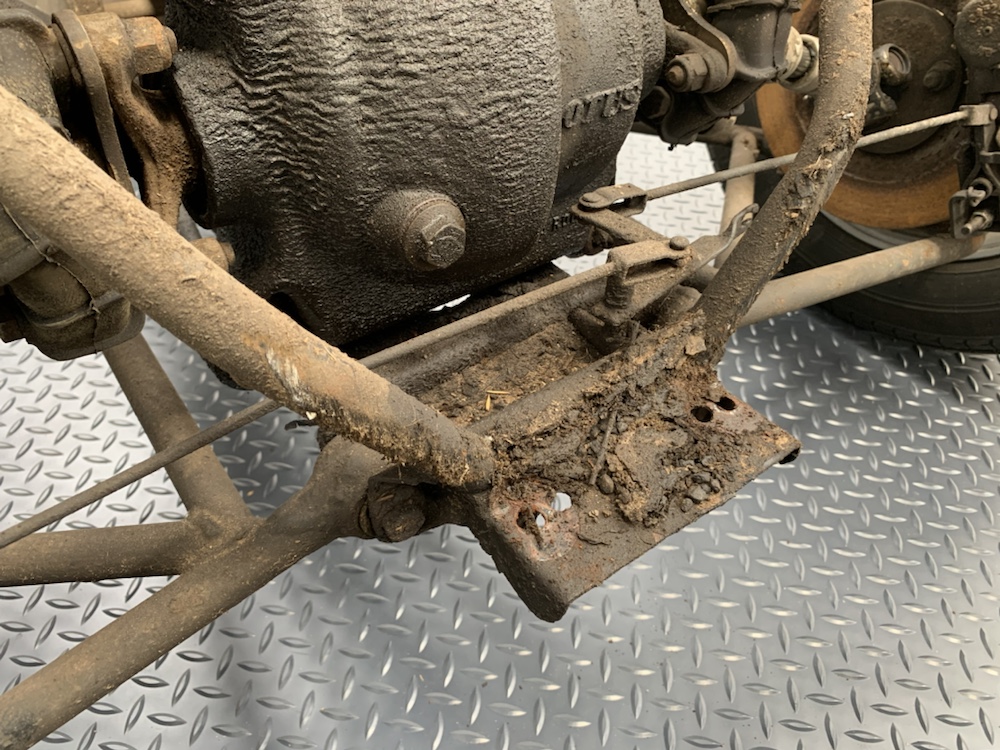
Something quite cool and militaristic about Spyder’s branding on the chassis!

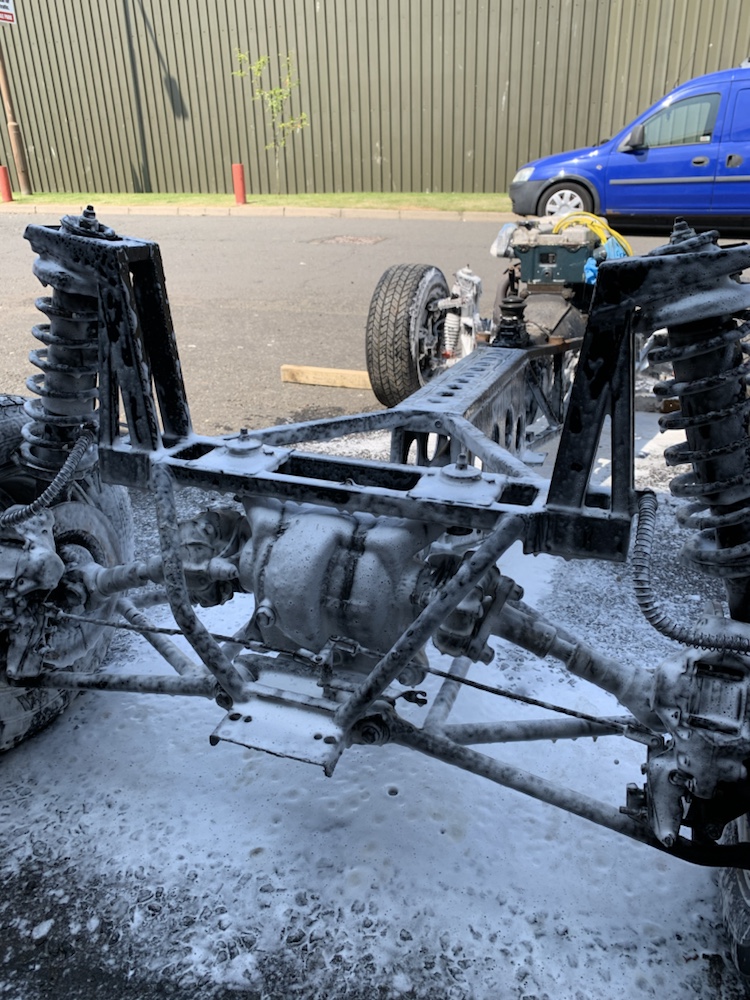
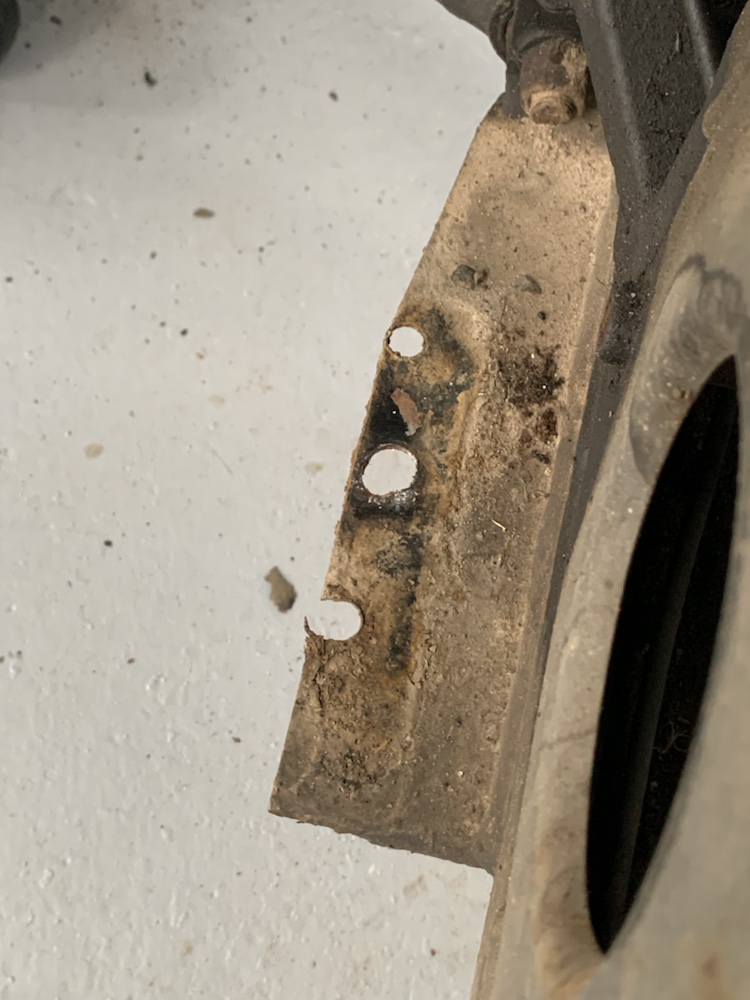
Ultimately neither snow foam, nor G101 was meaty enough to de-cake the diff housing but the rest was a lot less grotty and allowed me to properly inspect the condition.

Chassis Overview

After splitting the body from the chassis, the first order of business was getting the notebook out.

Logging the spacers on each and every body attachment point. Although they will likely be getting change as part of the bodywork overhaul, it’s a useful reference.

I say spacers, that’s glorifying the situation a touch, big old washers would be more accurate, anything more than a 3 stack got a tack weld applied to hold them together.

There was some sizeable differences from side to side down the backbone. These 2 plates are on opposite sides of the transmission tunnel, where the roll cage mounts.

Also the slight issue of some butchery on said plates!

Video showing the variety of spacers and the state they were in…

First time the shell had been off the chassis in probably near 40 years. Bit of grot and grime build up!

One interesting thing that was immediately noticeable was the massive improvement on the door fit with the body released from the chassis. Suggests the spacers were all to pot and the shell was being bent or twisted. Don’t have shots from the same angle unfortunately but think this shows just how big a difference it made.

So, we split up

The final stages of preparation for the big split!

Final items on the checklist checked off, then dropped the wheels on to some Go Jacks, just so I could get a bit of wiggling on the go if needed when lifting the body.

Took the front and rear screens out as well, just incase the body experienced any twisting during the lift, don’t want to crack them. Also took the bootlid off because it weights a ton!

At this point I decided to give vlogging a go…

Final prep and the split:

Success!

Start of July 2021 now.

Removed the lower trim panels on the dash, only 3 out of 4 or 5 holes had screws, all 3 completely different of course!

Anyways, enough talk, more action. Time to get her back on the ramp and crack on with the body split checklist.

New toys from Amazon in the form of imperial impact sockets, 9mm hex for the rollcage (still haven’t used this right enough) and AF brake fitting spanner.

Now the jacking points on the Elan are at the ends of the sills. I have no reason to doubt their integrity on this car but they are a bit known for the metal lattice inside corroding. So, since I can make it work getting the pads on the backbone of the chassis, I decided that was preferable.

Exhaust clamp was the lowest part under the car, not guilty on this destruction, was like that when I got there!

Think I have identified why the fitting on the fuel tank was seeping…

Rear carb needs the studs removed as they foul on the footwell structure when lifting the body. The checklist said rearmost 2 but I decided to remove all 4 to be safe as the front ones were also going clash, suspect the list was authored for Weber/Dellorto equipped cars which has a different manifold casting on the head.

At the time this picture was taken, some divot had just dropped a nut down an intake runner.

This brings us up to 9th July.

Feeling Drained

Time stamp: 21st May 2021

Next up on the check list, getting the cooling system drained and removed to create some easier working conditions in the engine bay.

Radiator brackets may or may not be re-used. The system needs an upgrade to prevent overheating issues, something definitely needs done about the radiator sitting at a jaunty angle. Don’t think you can see it in the pics but I’m also not a fan of the self tapper I found rammed through the bracket almost in to the radiator core, presumably to stop it rattling around!

Not the easiest to drain it has to be said. The drain tap is above the front of the bodyshell, but with a silicon funnel feeding in to a plastic funnel and finally in to a drain bucket, it was emptied. The coolant was surprisingly fresh looking giving it was 20+ years old!

Big difference in working space with the radiator and associated plumbing removed

That being said, pulling the radiator doesnt make the access to the carb nuts any better. The rear one was a delight. Roughly 2 hours of cursing & swearing and half a dozen burst knuckles managed to finally get them off.

Getting there…