Long overdue update, things are still progressing but not at a rate I’m proud of. Lot happening in life and I really need to get my head down and make better progress and log what’s happened.
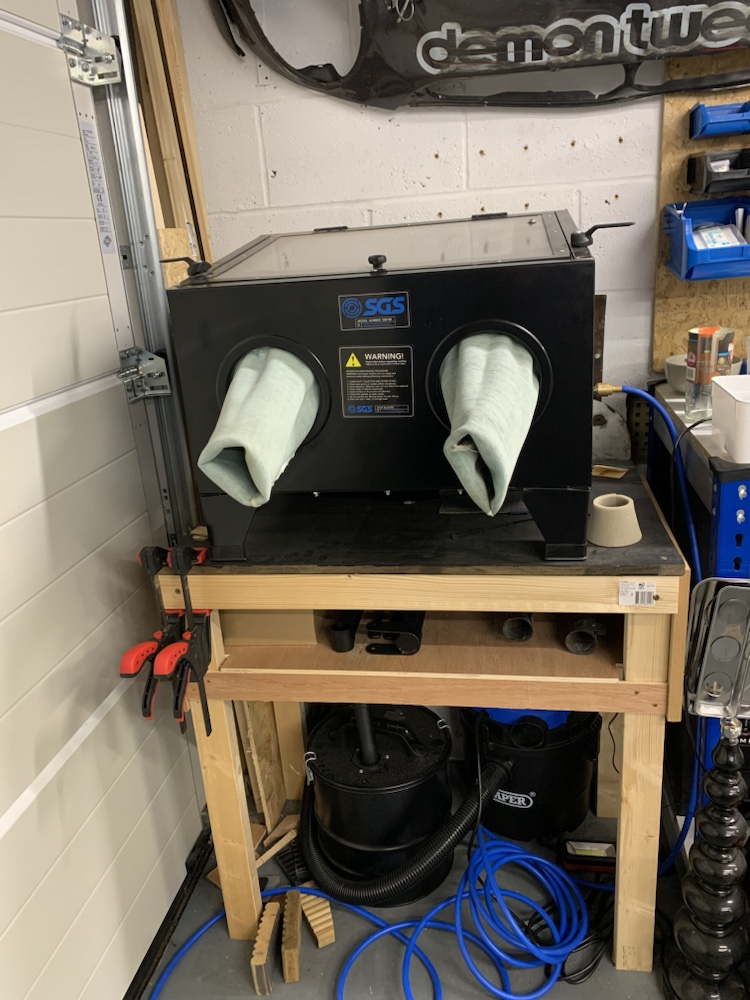
More workshop upgrades at home, added a new air compressor (which pops the garage electrics, but that’s a different story) and got a blast cabinet.
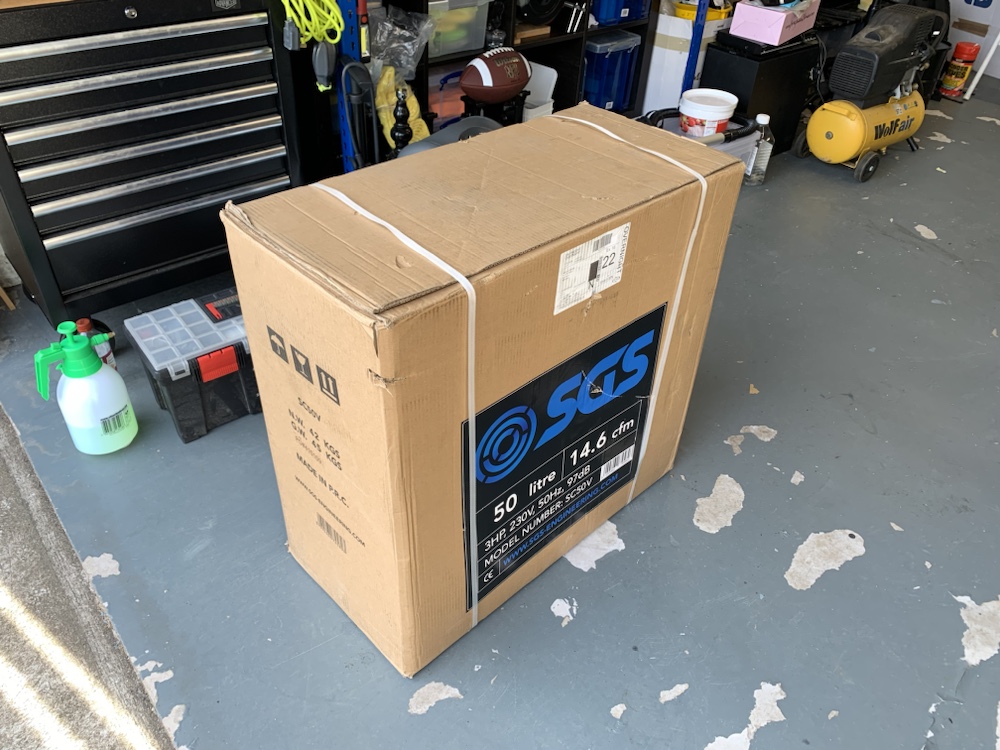
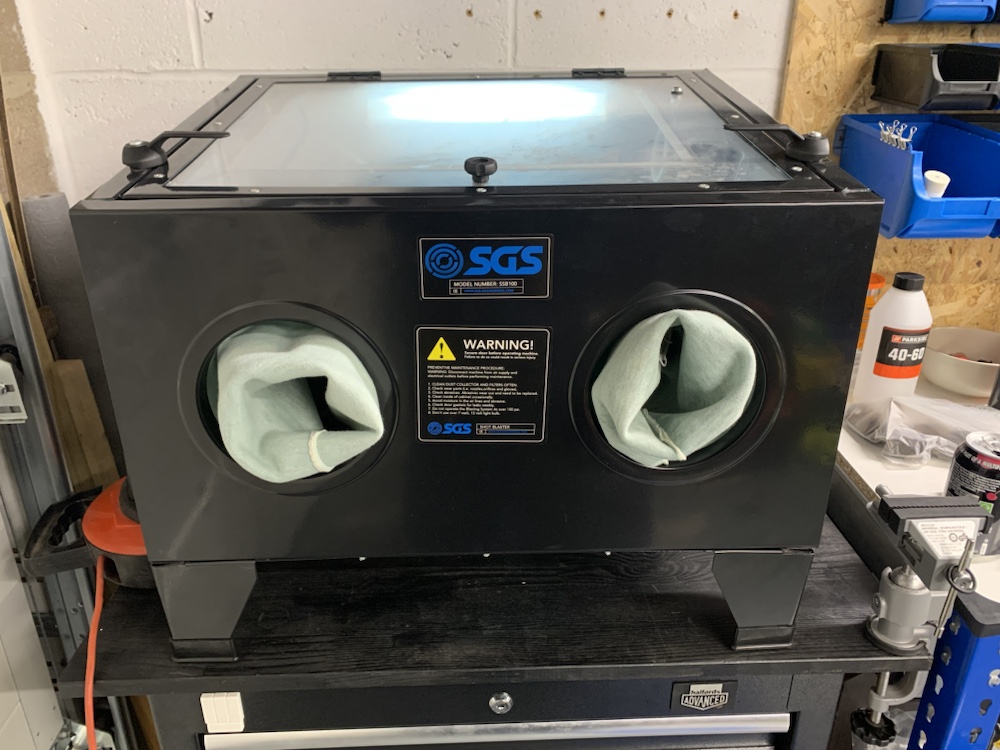
Trial run on the exhaust back box mounting tabs.
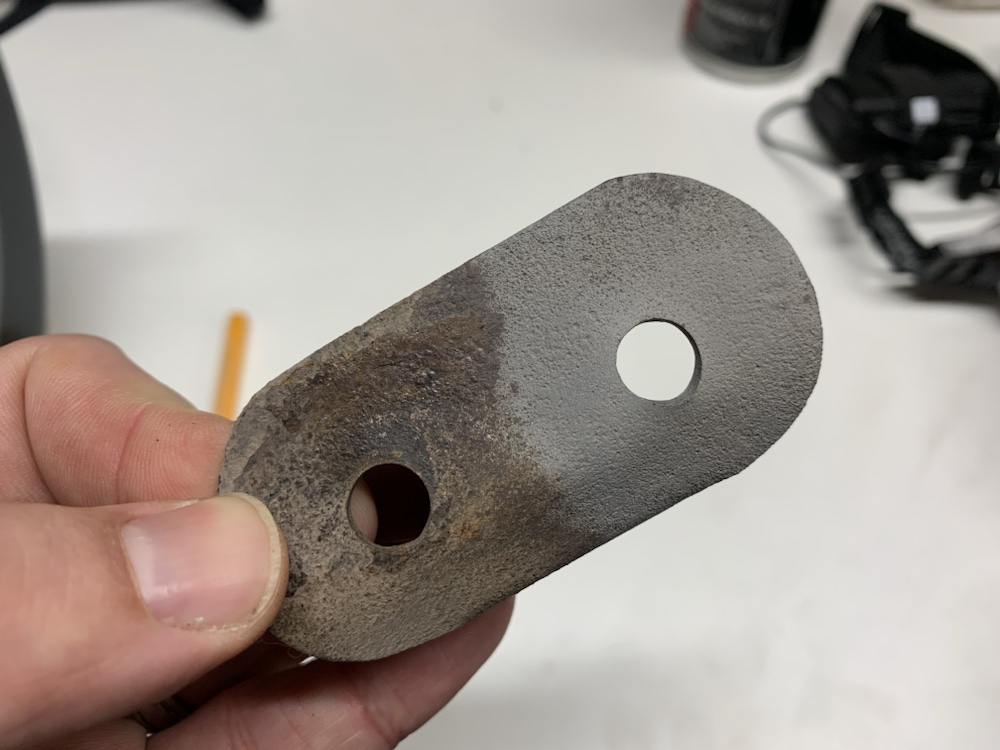
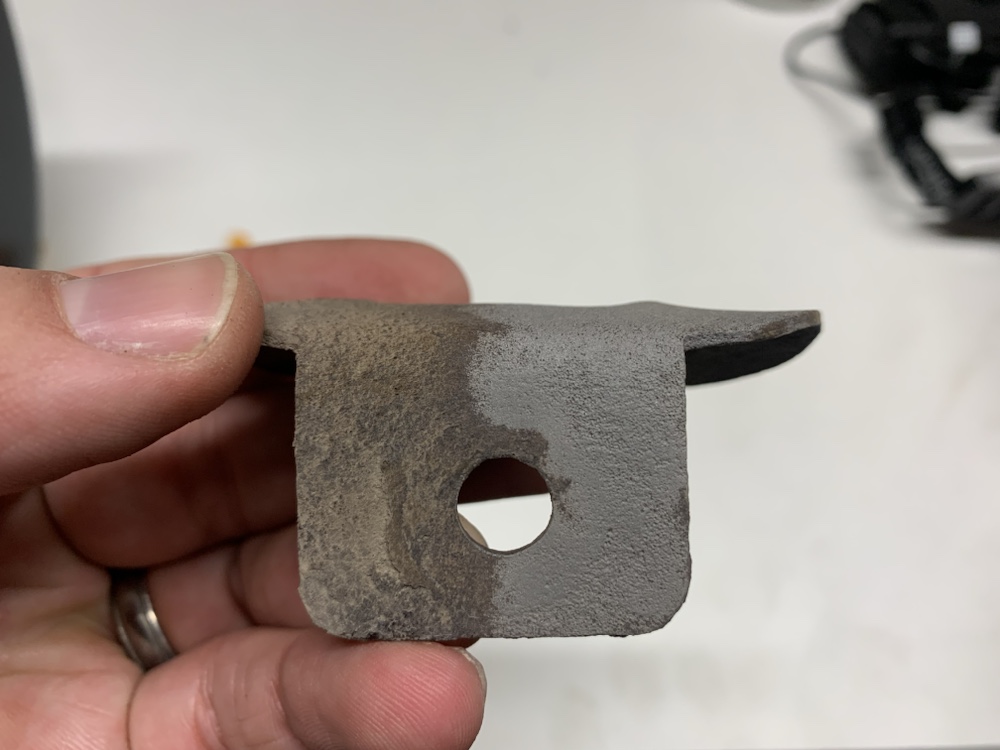
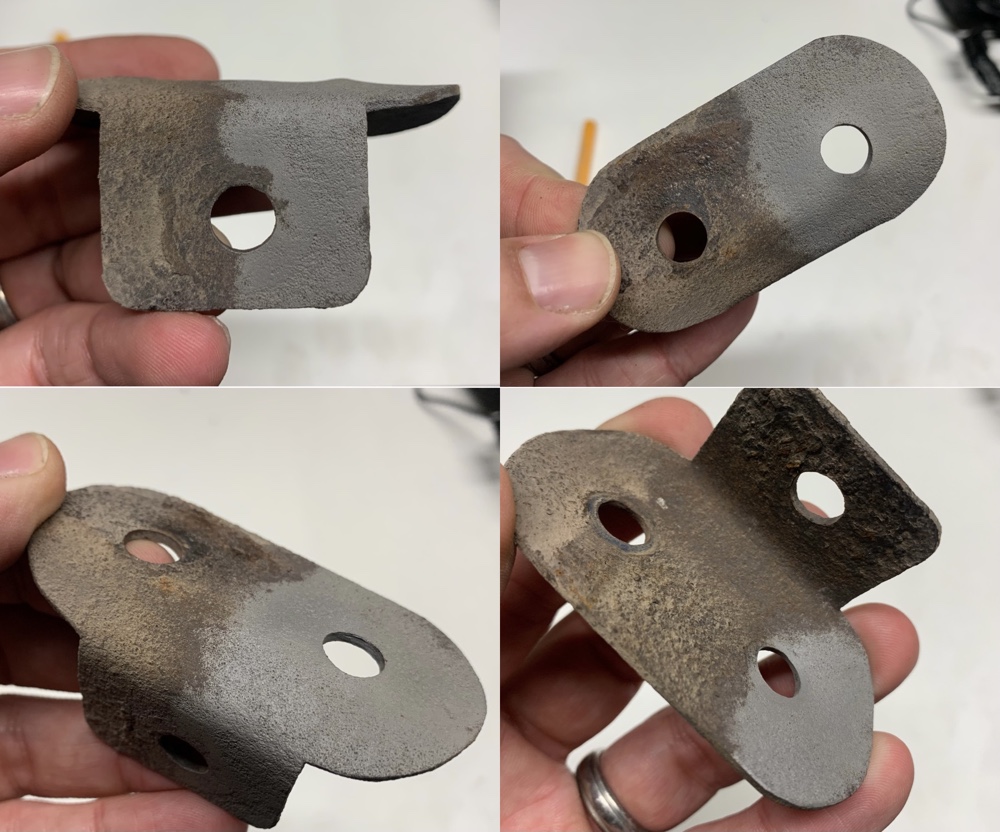
Works ok, but needed some improvements. More blast media was a big one, but being able to see wtf I was doing and stopping dust and grit going everywhere was a bigger priority. Electrics project box bought, drilled and stuck on over the standard vent on the rear of the cabinet.
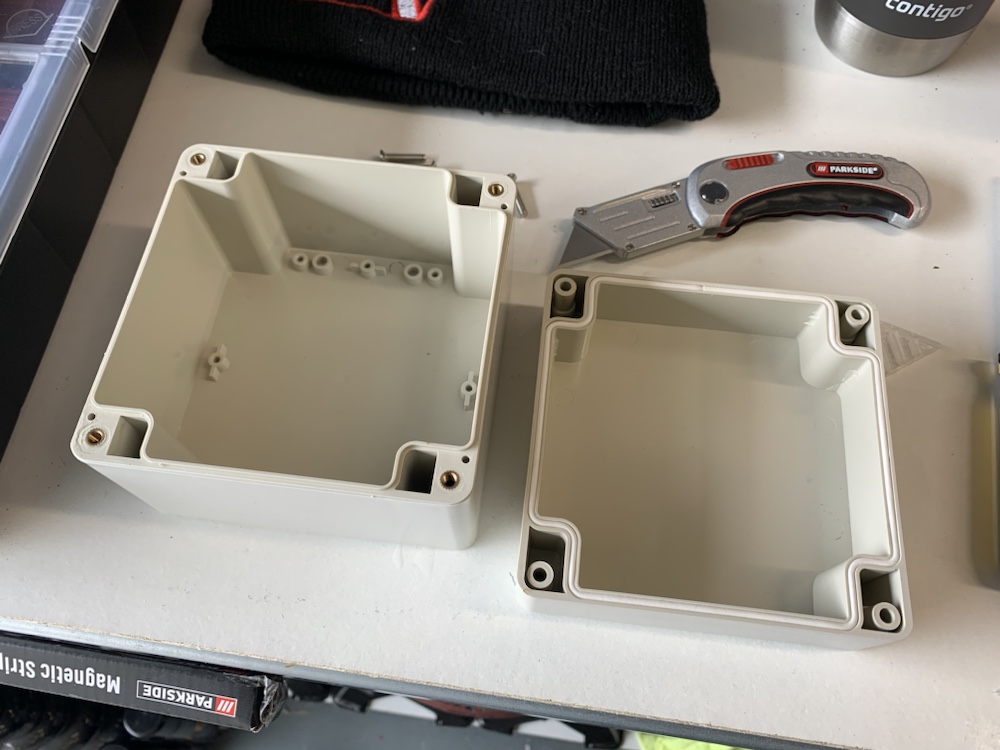
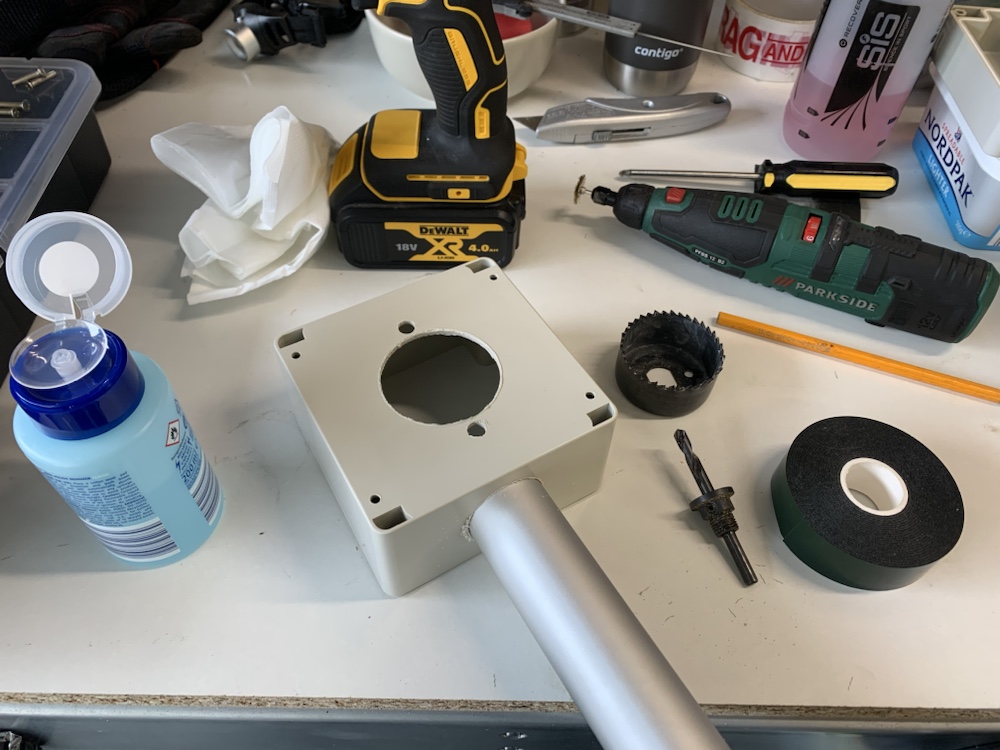
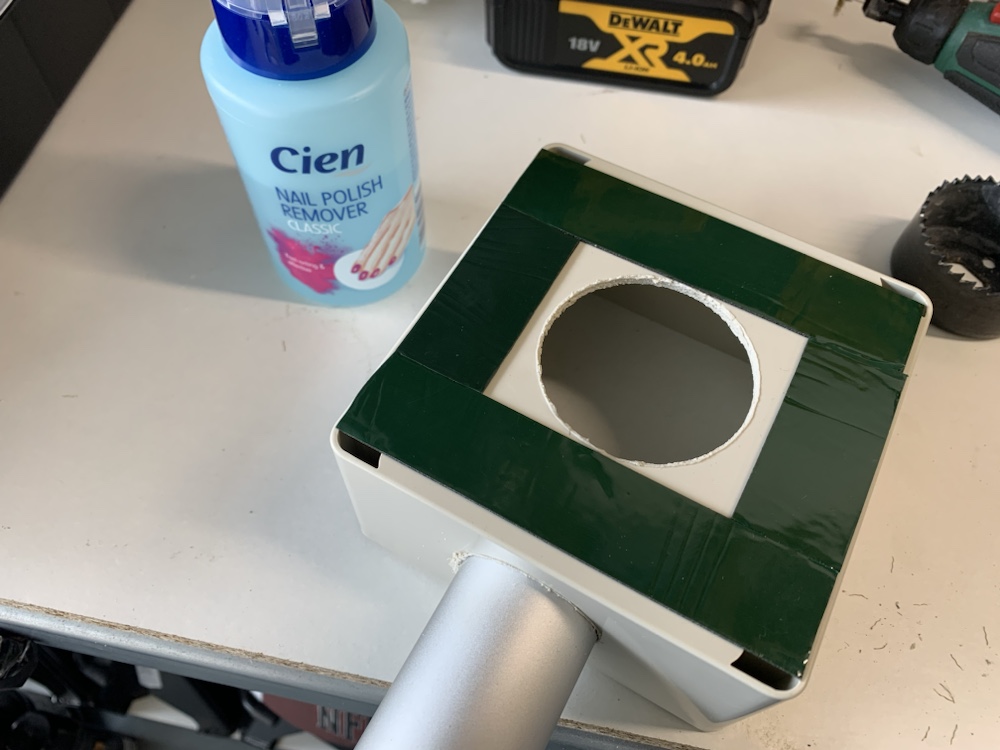
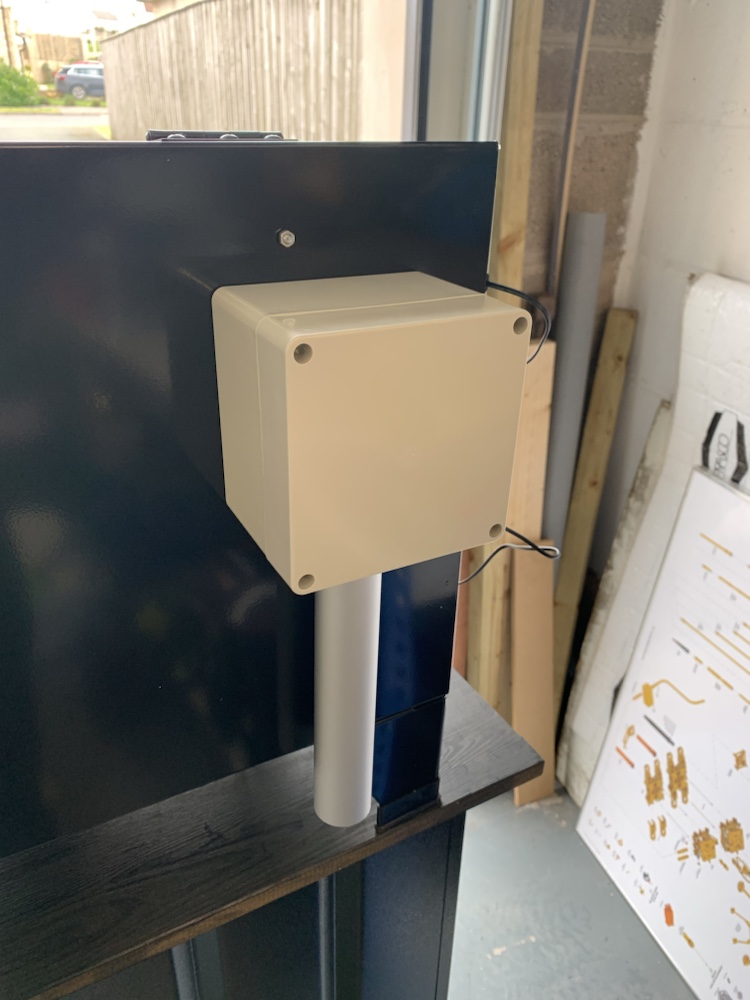
Next up, connected to a Draper shop vac I got on discount from ToolStation, via a barbecue ash vacuum box from the Lidl centre aisle.
Then gave the interior a full wipe down and duck taped all the joints. Some of the corners you could see light from inside the cabinet coming through and naturally dust and grit managed to find their way out also.
With the vac running you can’t easily open the cabinet lid and dust is kept much more under control.
Finally, used some spare timbers to knock up a table to sit it on, my toolbox now has an added top box and wanted to be able to get the shop vac etc stashed underneath.
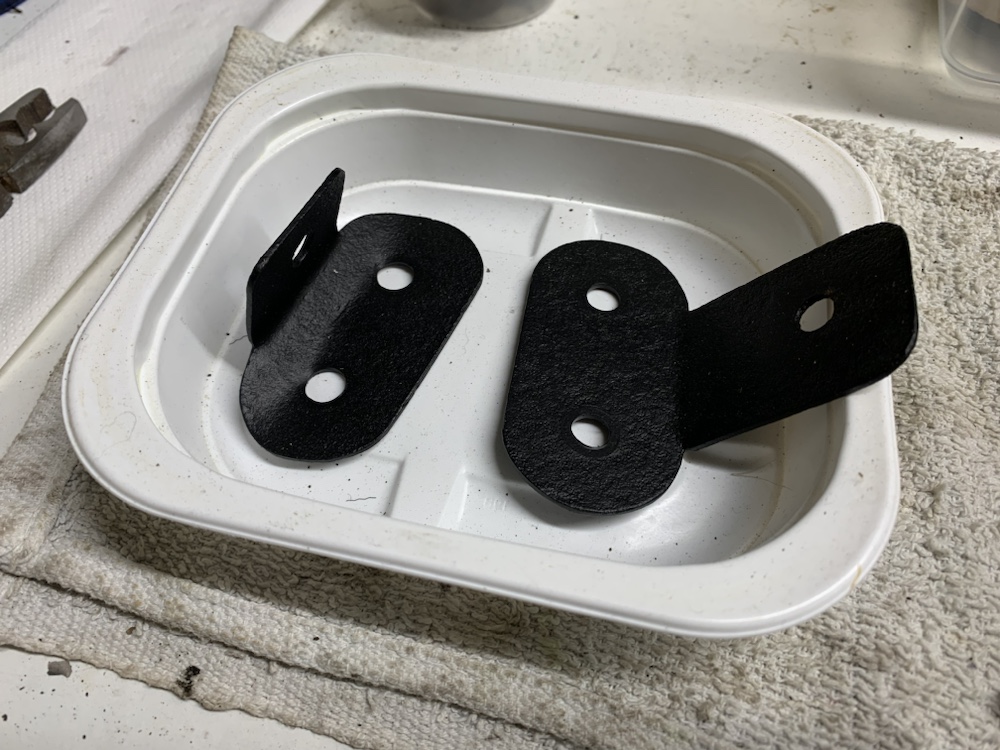
Finished up the exhaust brackets with an etch prime and matt black paint finish.
Lots of parts will be needing put through this, I’m very much wanting to retain as many parts as possible rather than replacing them for the sake of it.
Part 2: Master Blaster
Selection of parts in work.
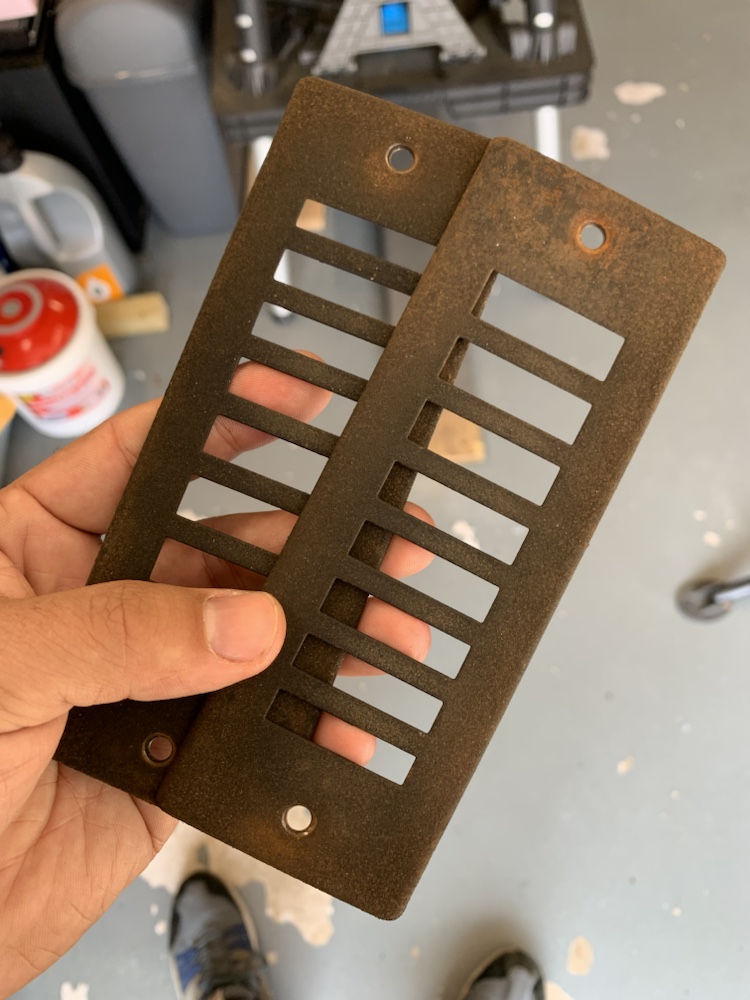
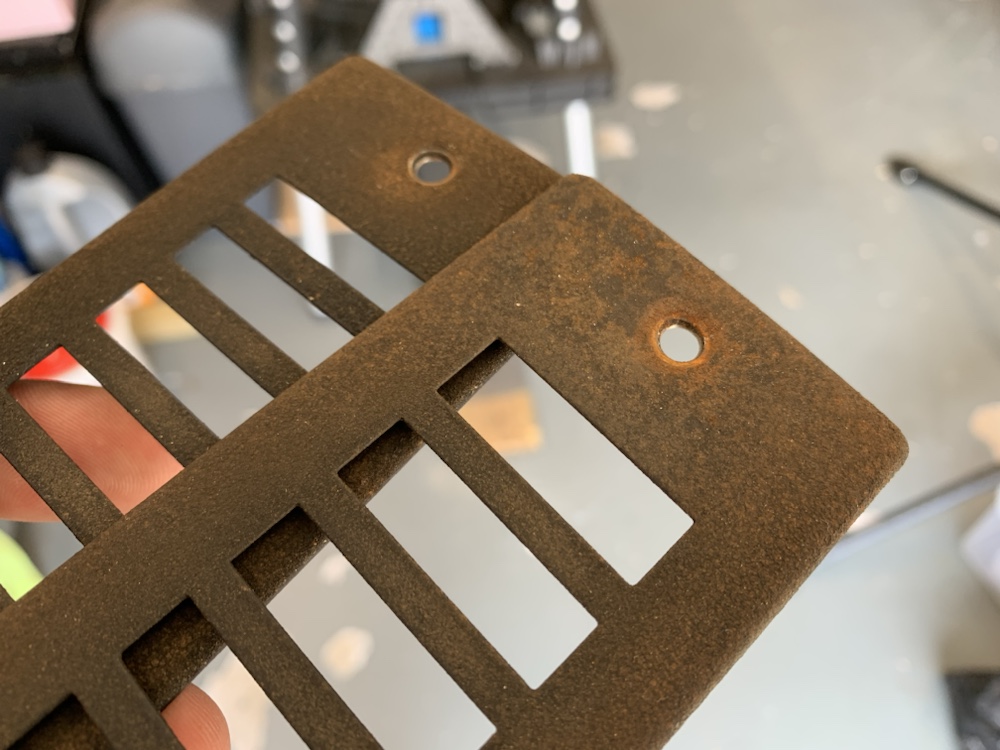
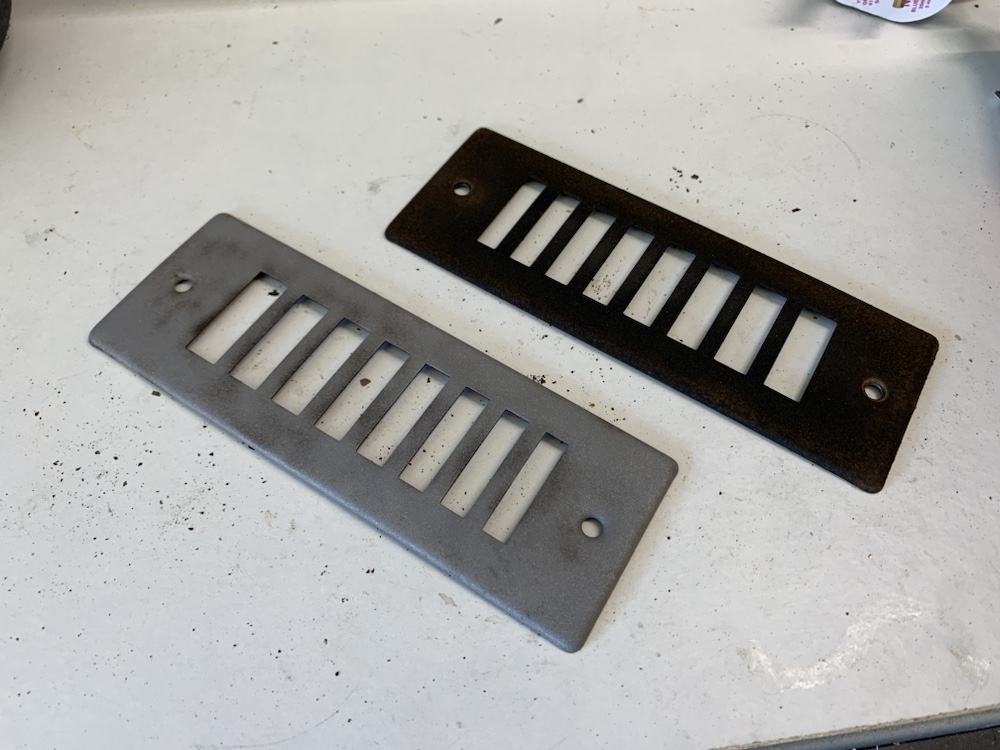
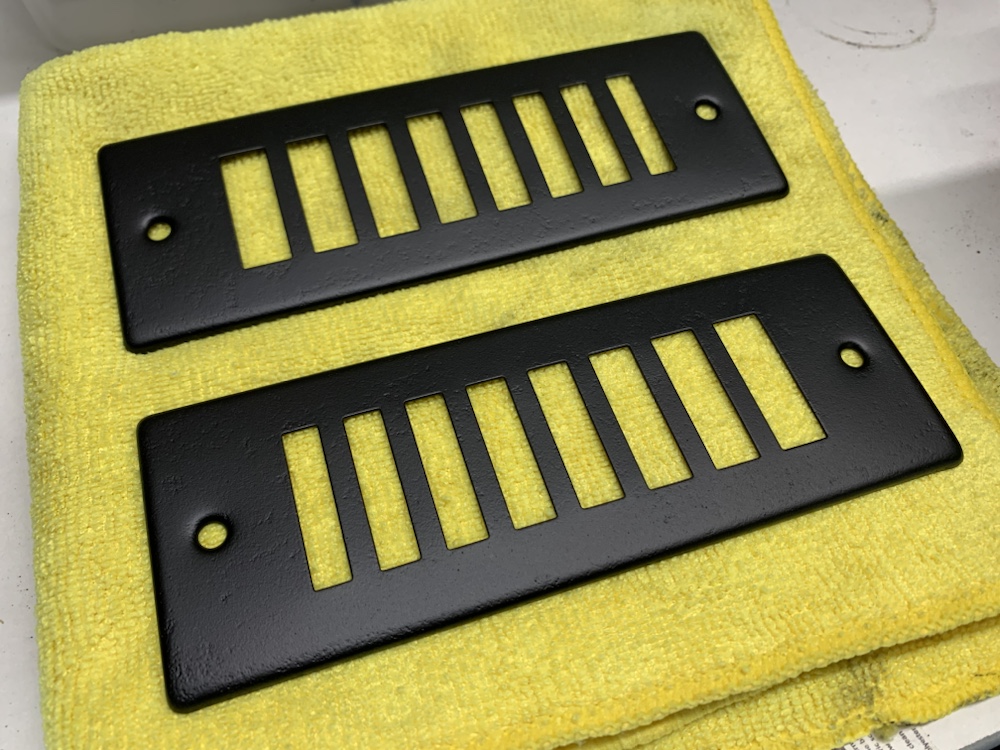
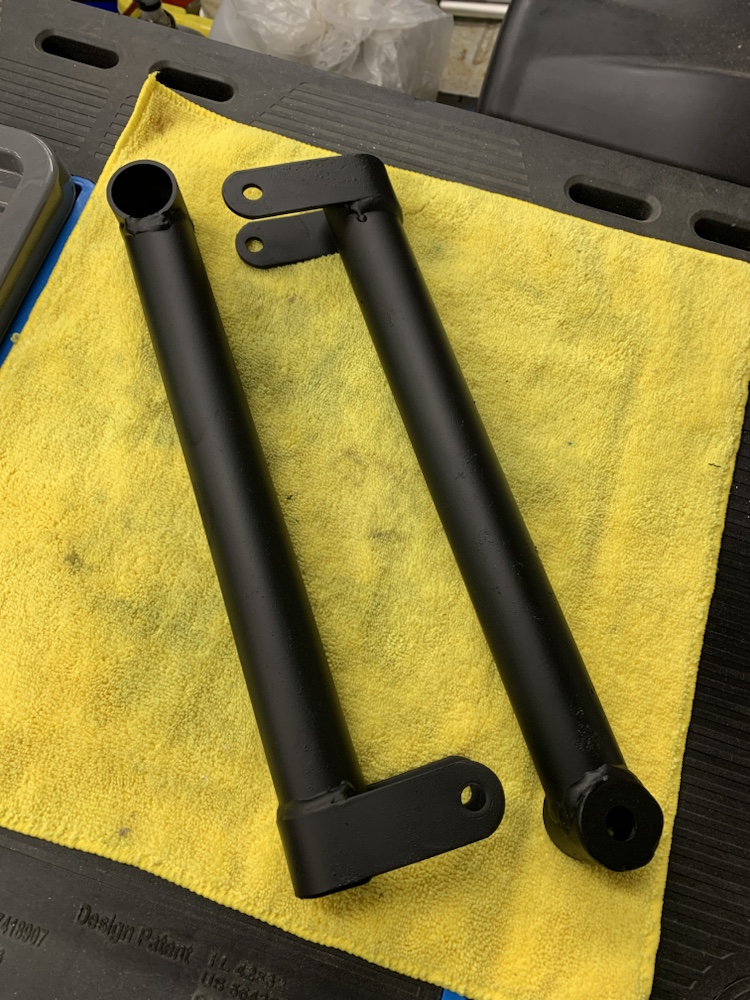
Couple of the roll cage tubes needed some love. These run from the bottom of the A-pillar in to the transmission tunnel where they bolt through in to the chassis. As such, they’re effectively a foot rest so the paint was pretty worn away. Misplaced the before pics.
Spyder (I think) upgraded tubular front wishbones. The chrome had given up the ghost in some areas but not others, this is a royal pain in the hoop. With the compressor and blast cabinet set up I have, it doesn’t quite have the oomph to smash up electroplating unless it’s already loose. So, good that only the gubbed stuff gets removed, finish it leaves is quite crappy and requires the whole lot to get a dose of buffing with the brass wheel of the bench grinder.
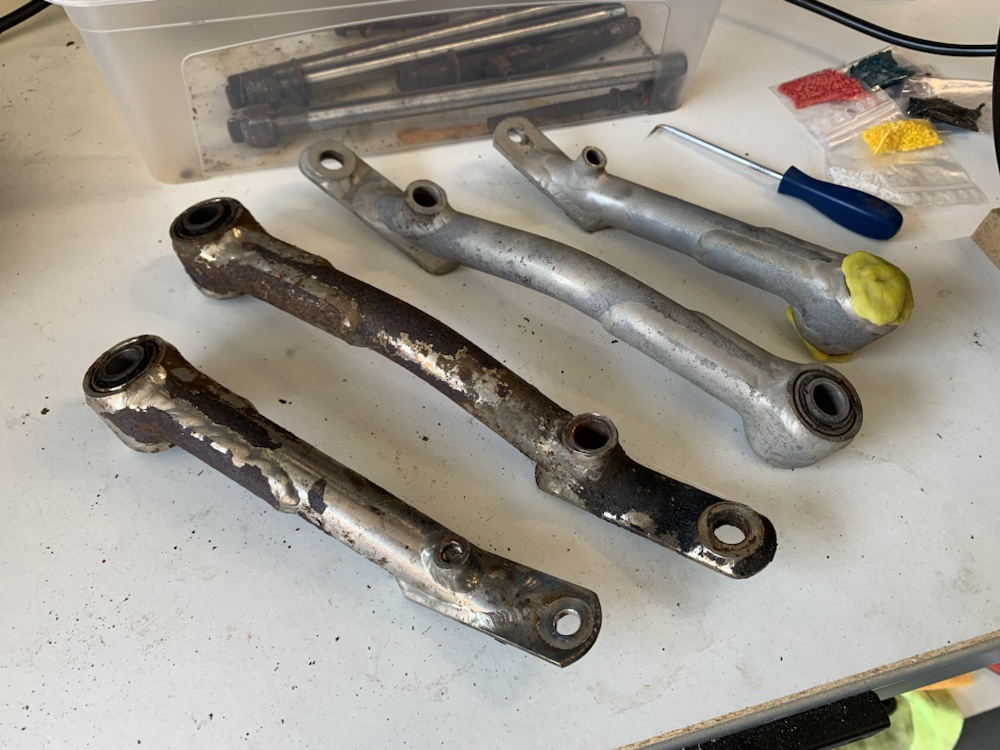
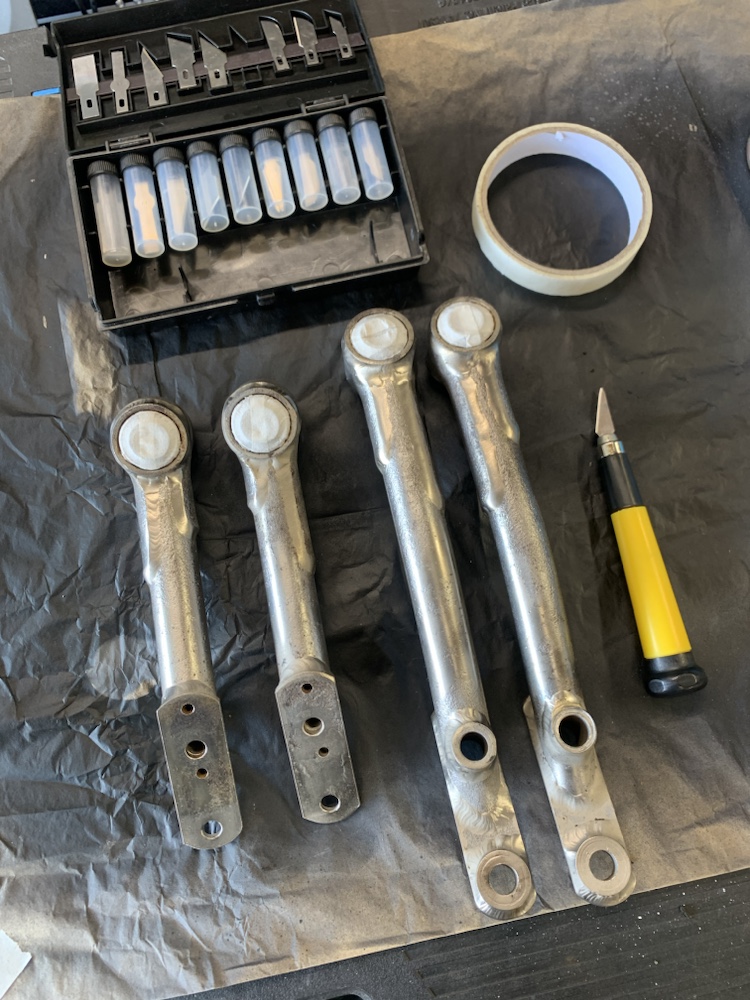
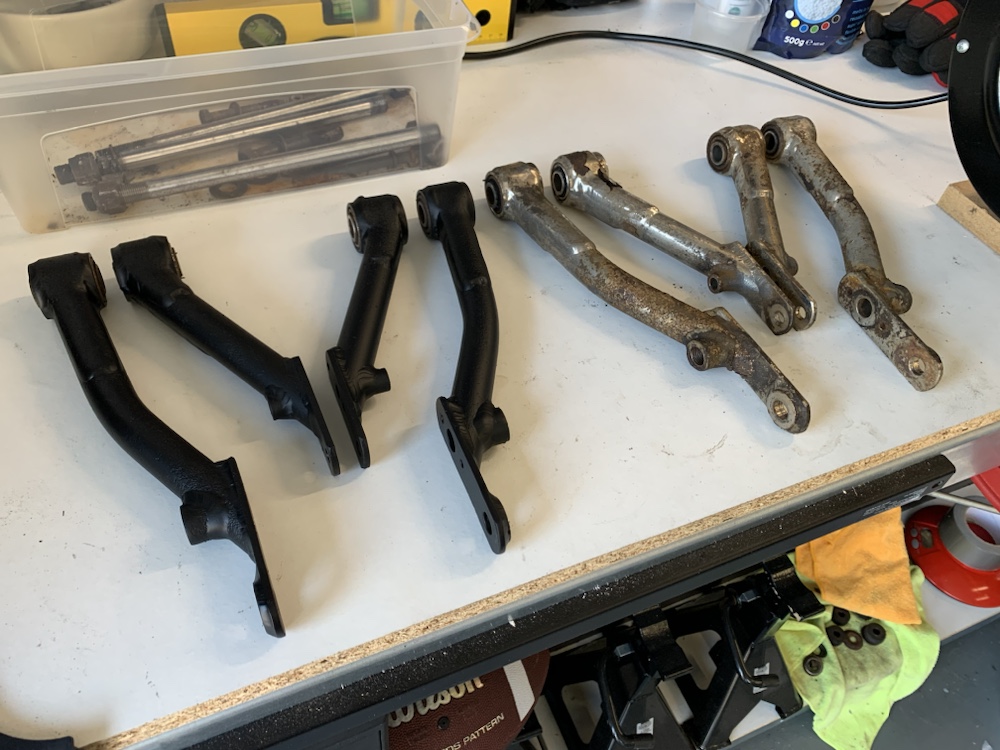
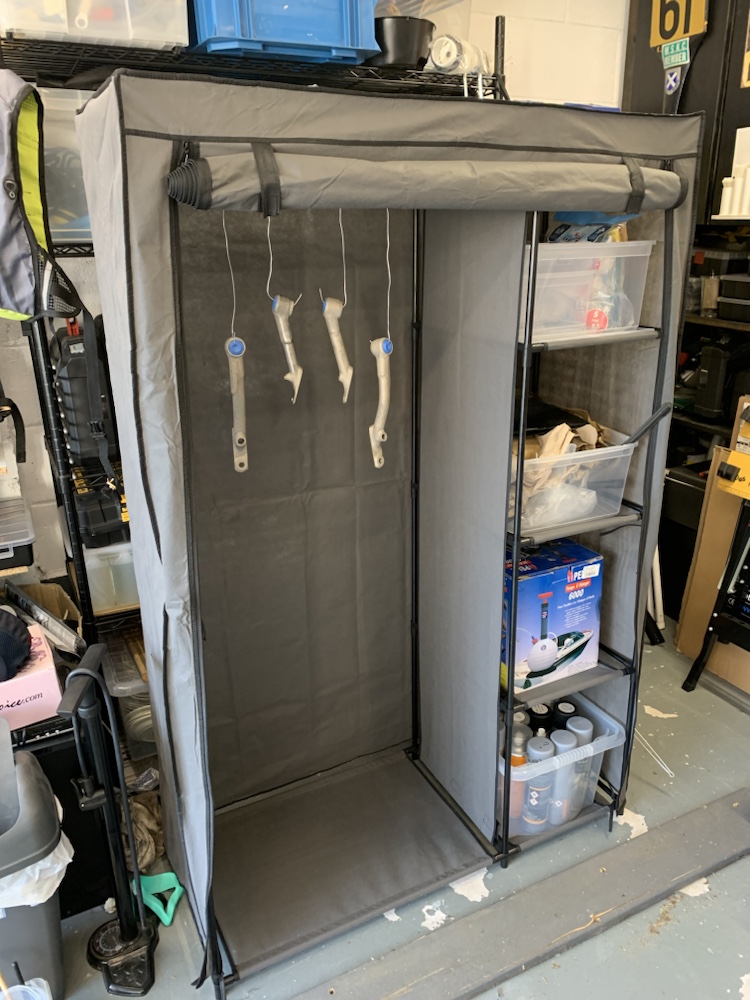
There was actually about a 6 month gap between the first and second batches of arms being done. In that time, the painting on top of sheets of paper on a workbench got on my nerves enough I went looking for a better solution but don’t have space for anything like a spray booth.
Step in £20 of fabric wardrobe from B&M…
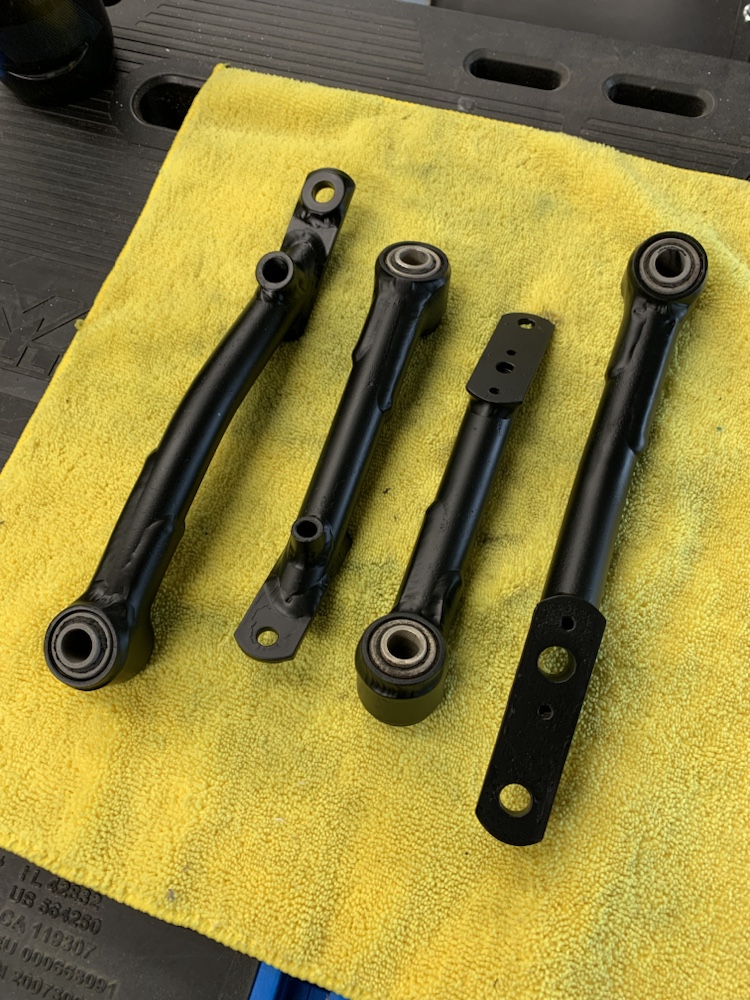
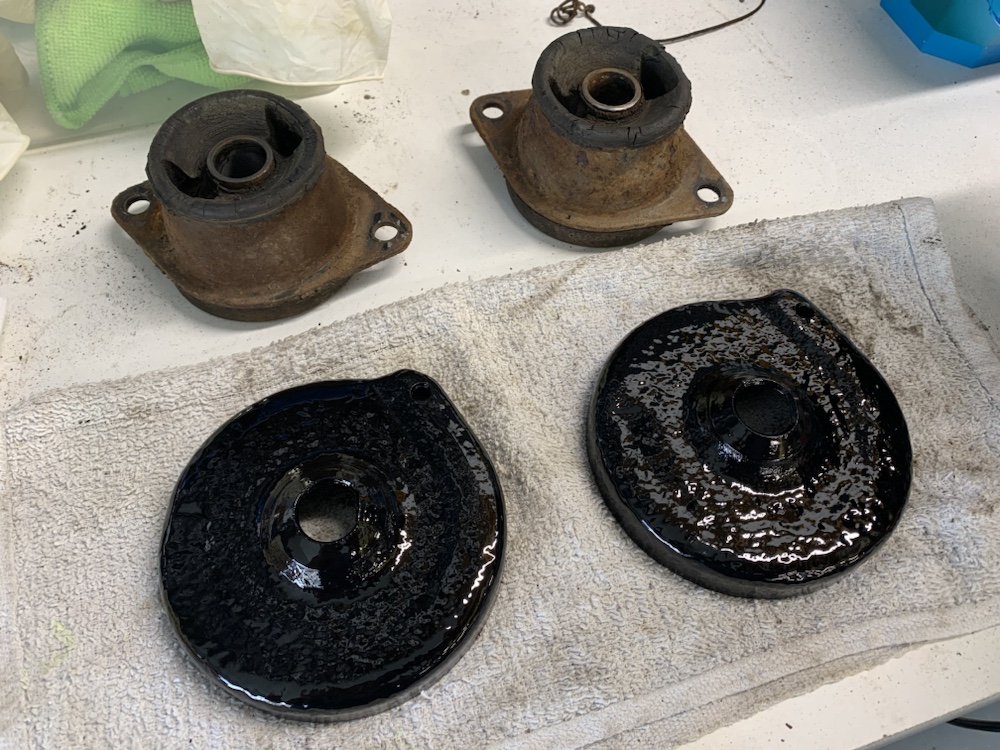
Next up working through the suspension components was the rear top spring caps and lotocones.
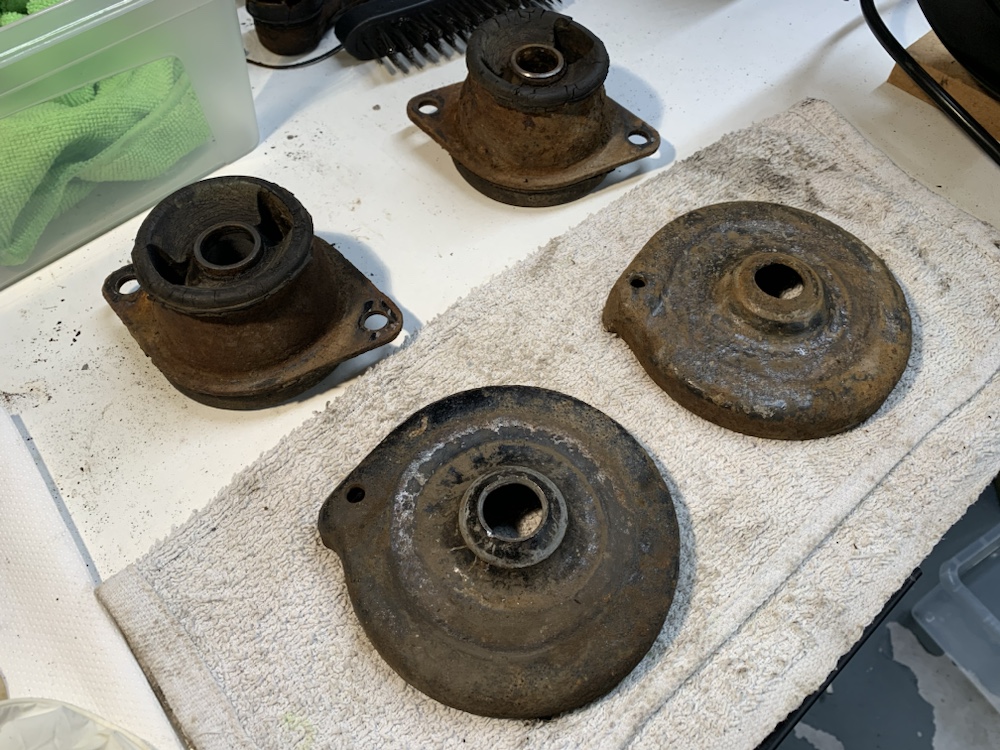
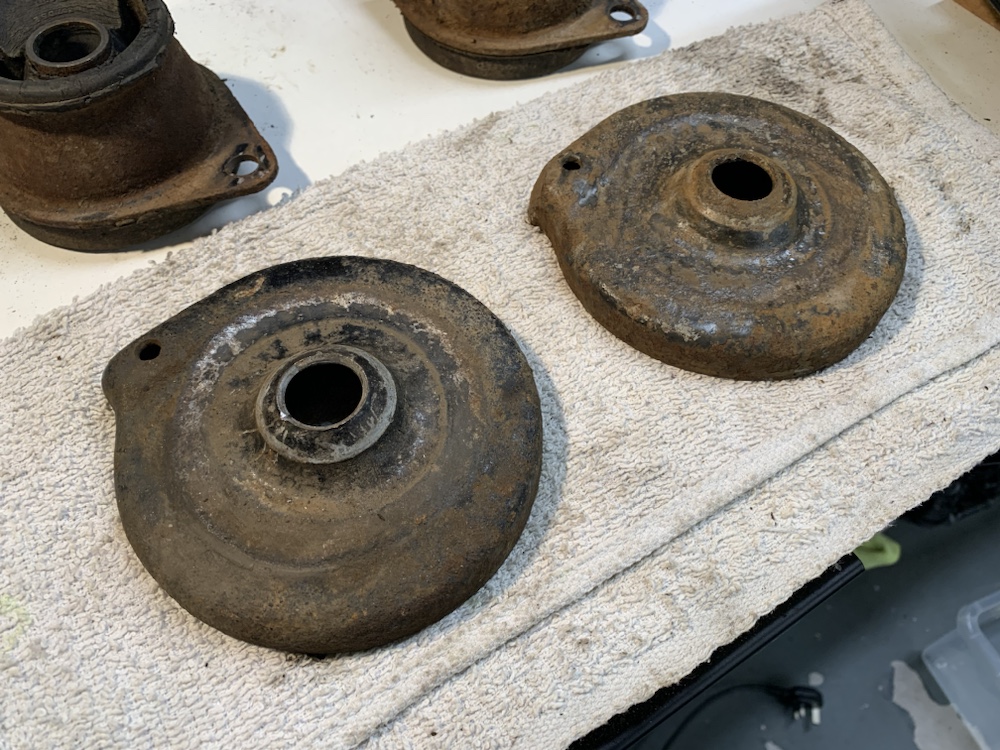
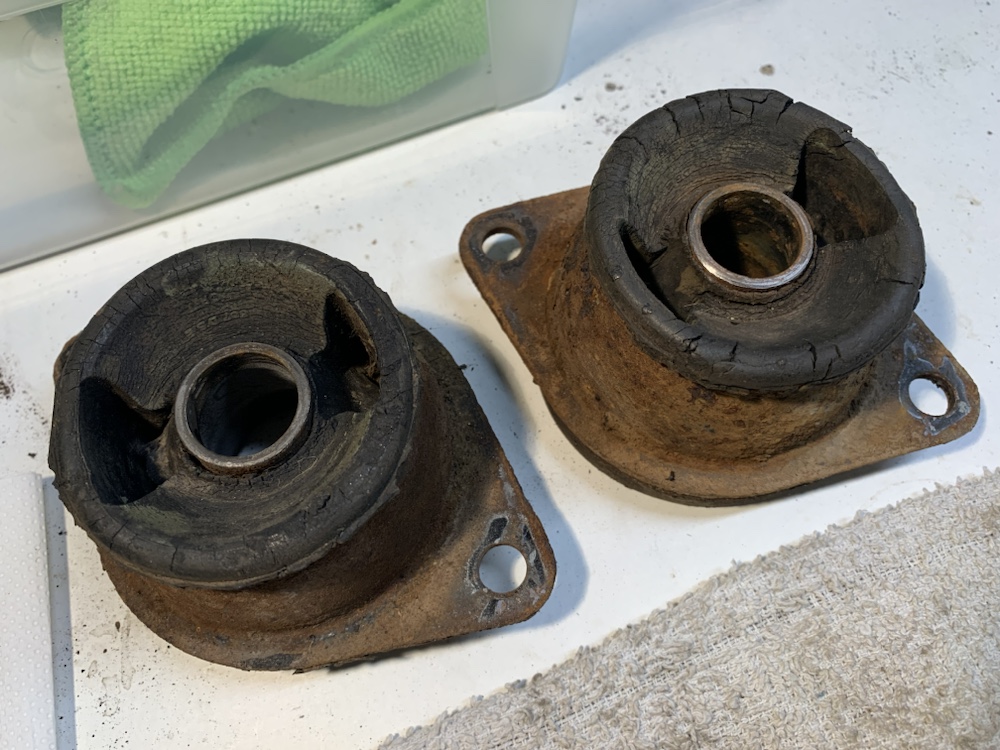
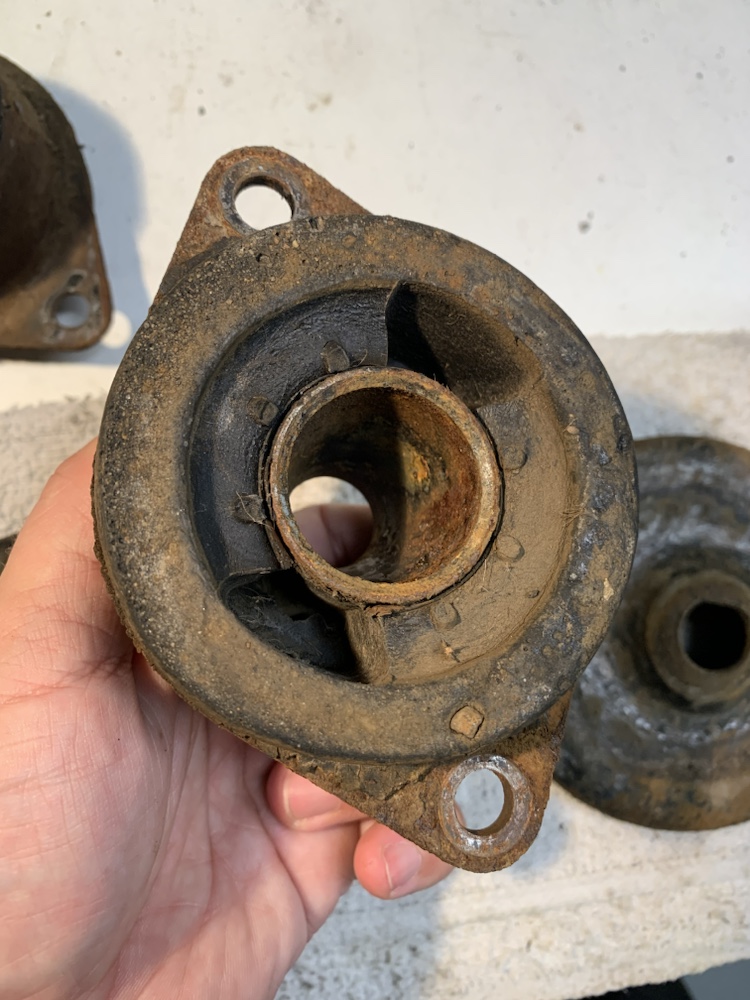
The steel inserts would probably have been possible to save but the rubber being severely perished means the lotocones will be getting replaced with new. The spring top cups, although scabby, are structurally sound, so;
Blast them
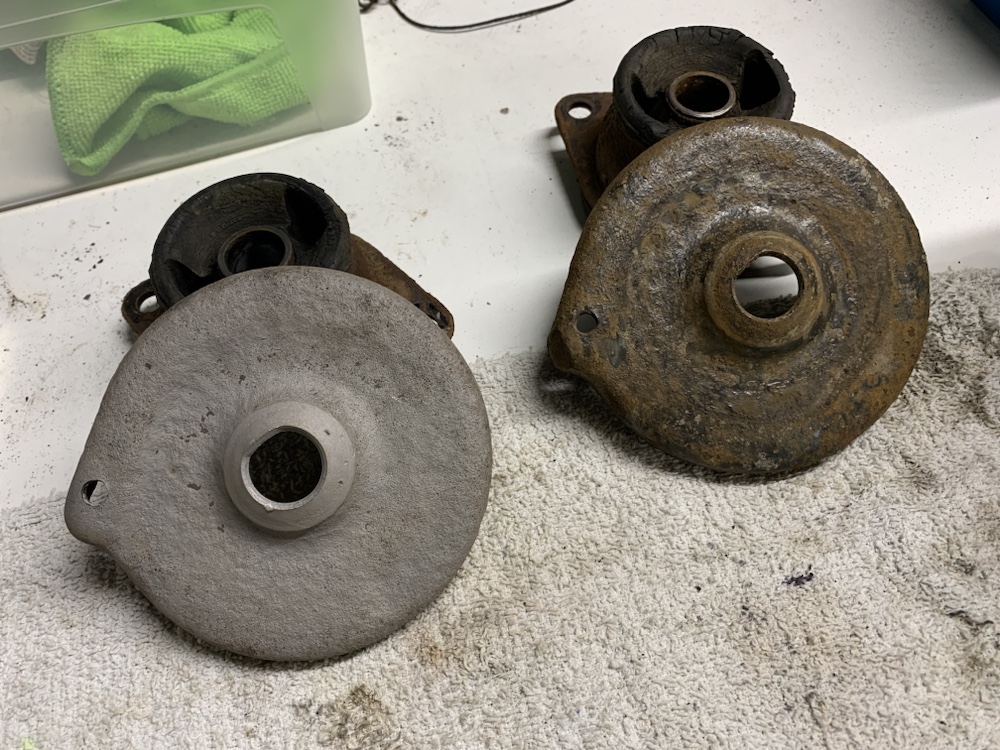
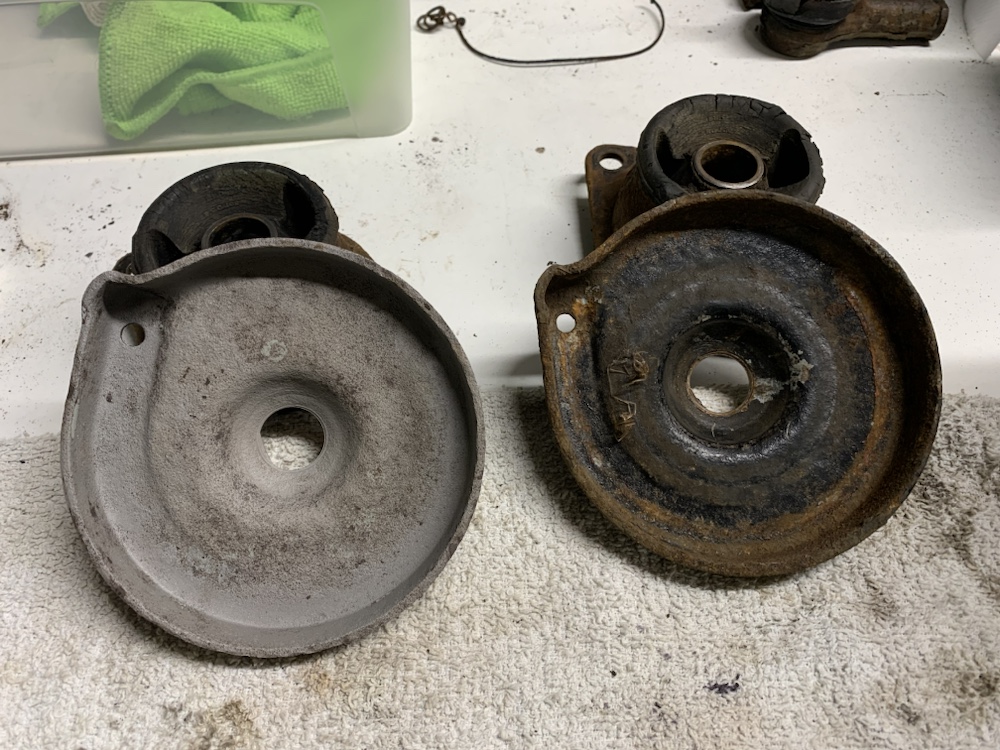
Buff them
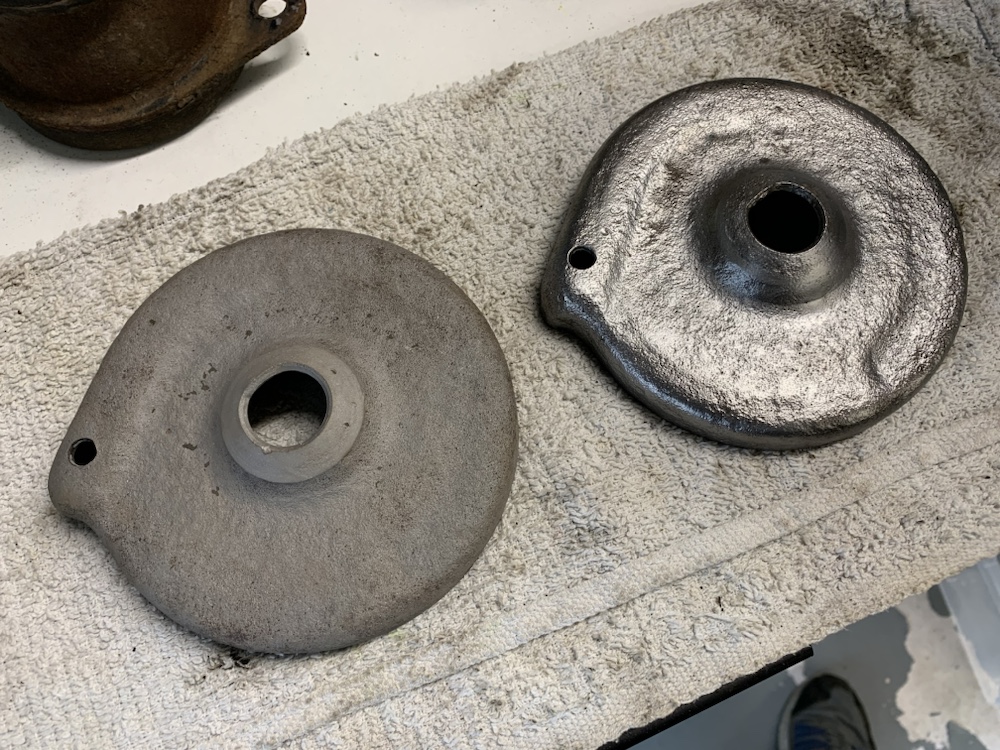
Rust converter to stabalise the surface
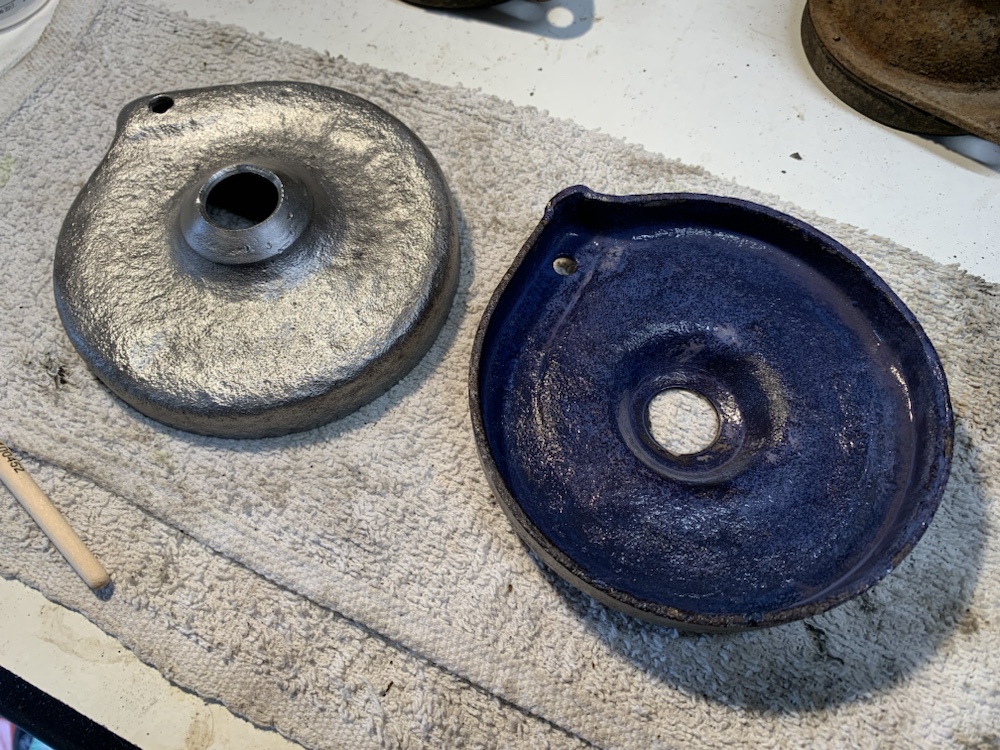
Etch primer and high build primer
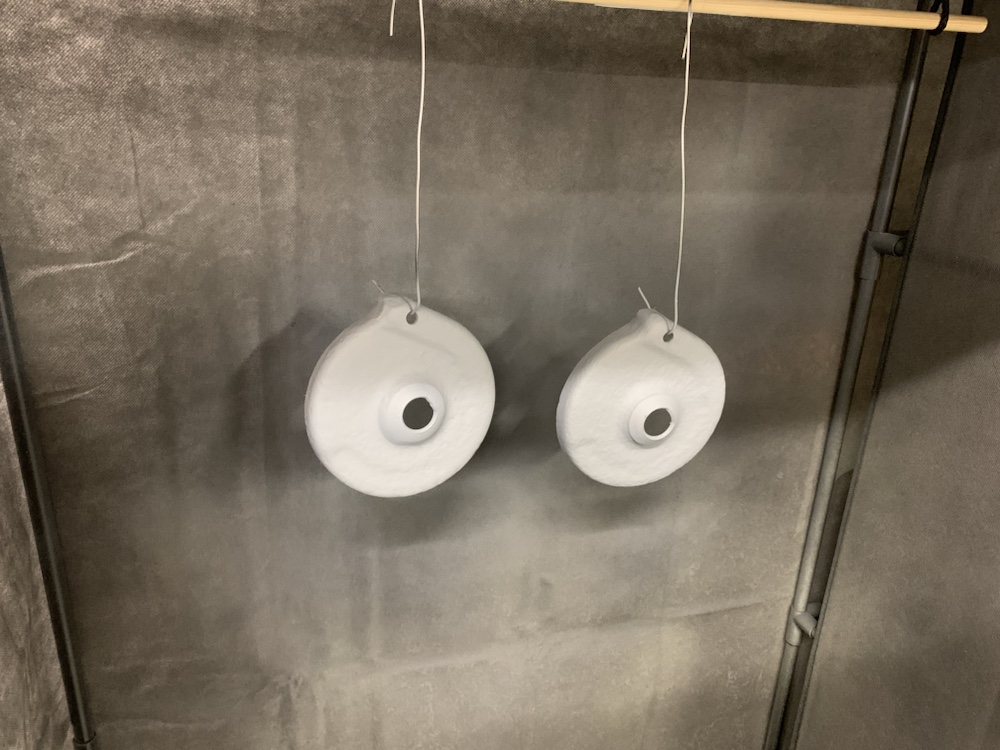
Black enamel topcoat
