restoration

All posts tagged restoration

Feeling Drained

Time stamp: 21st May 2021

Next up on the check list, getting the cooling system drained and removed to create some easier working conditions in the engine bay.

Radiator brackets may or may not be re-used. The system needs an upgrade to prevent overheating issues, something definitely needs done about the radiator sitting at a jaunty angle. Don’t think you can see it in the pics but I’m also not a fan of the self tapper I found rammed through the bracket almost in to the radiator core, presumably to stop it rattling around!

Not the easiest to drain it has to be said. The drain tap is above the front of the bodyshell, but with a silicon funnel feeding in to a plastic funnel and finally in to a drain bucket, it was emptied. The coolant was surprisingly fresh looking giving it was 20+ years old!

Big difference in working space with the radiator and associated plumbing removed

That being said, pulling the radiator doesnt make the access to the carb nuts any better. The rear one was a delight. Roughly 2 hours of cursing & swearing and half a dozen burst knuckles managed to finally get them off.

Getting there…

Starting to work through the long list of pre-split checks, I started getting the engine bay cleared out.

First up, washer bottle. Somethings partially melted it and there’s also a crack in it. Bin.

Next up removing the air cleaner, ducting and airbox. The access to the airbox bolts is quite restricted despite them being in plain sight in the engine bay, getting the bolts far enough out within the confines of the engine bay is quite a challenge.

Immediate discoveries;

This throttle linkage between the carbs is a quite fantastical piece of engineering.

Appears only the front carb’s choke has been operating, there’s nothing connected to the rear and there doesn’t seem to be anything linking the two.

Hose that runs from the air cleaner to the airbox is quite convoluted, it’s also full of holes!

With the airbox off, there was more room to start removing the hoses for the vacuum system.

On the Elan the vacuum comes from a port in the front intake runner, this then runs to a T piece feeding the front cross member which effectively acts as a vacuum reservoir, with the brake servo and headlights both wanting a vacuum feed.


God knows how it was still functioning, the T piece had been broken by someone in the past and “fixed” with copious amounts of electrical insulating tape! Moderate amount of oily residue in the pipe work.

Ramp it up

We’re now at the start of March 2021 and things started to ramp up…

New 2 post lift installed in the workshop I had been using, making the whole conundrum of how I was going to lift the body off a lot easier to solve!

Despite not being particularly low, the car needed some wooden blocks under the wheels to get the ramp arms in as far as I wanted. As I mentioned before, I don’t have any reason not to trust the sills for jacking, but I just prefer jacking on metal. On the lift, the arms extend far enough for me to be able to get them on to the main backbone of the chassis.

This gave me a good opportunity to get a proper nosey around all the suspension and chassis components as they stand. By happy coincidence, the lad who was helping with the hot wiring earlier, also runs a garage and gave the car a pre-MOT style once over.

Happily nothing major came up beyond what we already knew. Most pleasing being no play in the wheel bearings and trunnions. Also, no significant corrosion that we could see on the chassis, so the 1970s paint has stood the test of time well!


Combination of a slightly weepy sump and rear main seal have provided a useful self-applying, anticorrosion coating. ie it’s absolutely covered in grime mixed with a light coating of oil.

Lower chassis brace has clearly taken a dunt at some point, there’s a clear bend in the tubular profile.


Front suspension shows light corrosion and the chromish coating on the Spyder wishbones is flaking. Mid-90s Avo coilovers are in good condition.


Rear springs are original as far as I know, inserts don’t appear to be weaping, they were swapped to damping adjustable units at the same time as the front coilovers were added.

Spyder upgraded driveshafts in the rear. Normal Elan rubber donut on the inboard end, constant velocity joint on the out it’s end and a sliding sleeve section in the middle to compensate for the change in shaft length.

Looking back through my photos and videos, realised I missed quite a significant part out.

We did try and get it running.

No change of position on the car needing a full rebuild, but thought it would have been useful to even be able to take the car round the block to see if it drove fine.

Quick trip to Dingbro for oil & filter.

Borrowed a battery from my Celica, no idea where the Lotus’ battery is, hadn’t had one the entire time it’s been with me.

Lack of keys, not so much of an issue when you’re dealing with stuff from the 60s/70s, quick bit of hot wiring in the engine bay and we verified there was spark!

Problem appeared to be the fuel side of the equation. Thoroughly perished fuel lines to the carbs

So whilst we still had some juice left in the battery, decided to run a compression test.

Now, the engine having sat for so long without running would probably guarantee some interesting numbers, but ideally I wanted to understand if the head gasket had gone when the engine last overheated.

Results, all values +/-5psi

Cylinder 1 – 125psi

Cylinder 2 – 125psi

Cylinder 3 – 75psi

Cylinder 4 – 125psi

Hmmm… could just be a sticky valve…

To Do v1.01

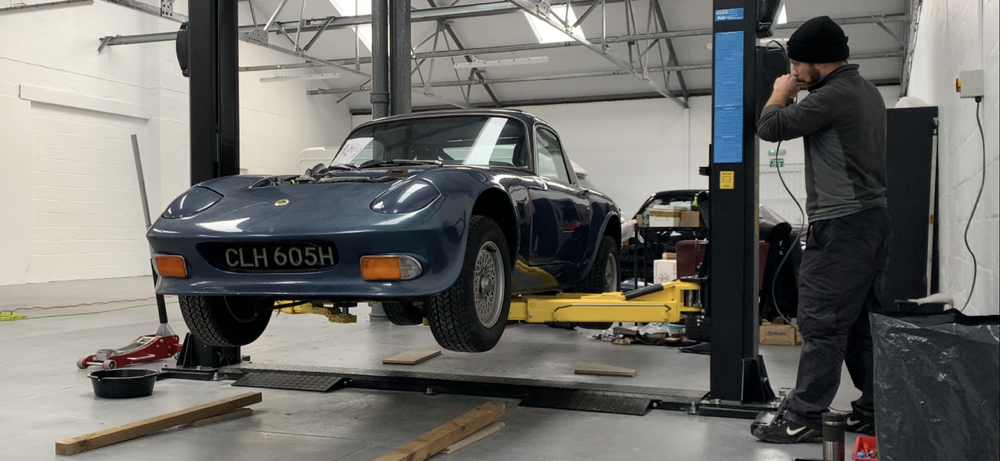
Courtesy of the extremely useful forum over on LotusElan.net I had my first To Do list set. The list of tasks needing completed to remove the body from the chassis, leaving the drivetrain intact;

– Remove bonnet
– Disconnect battery cable
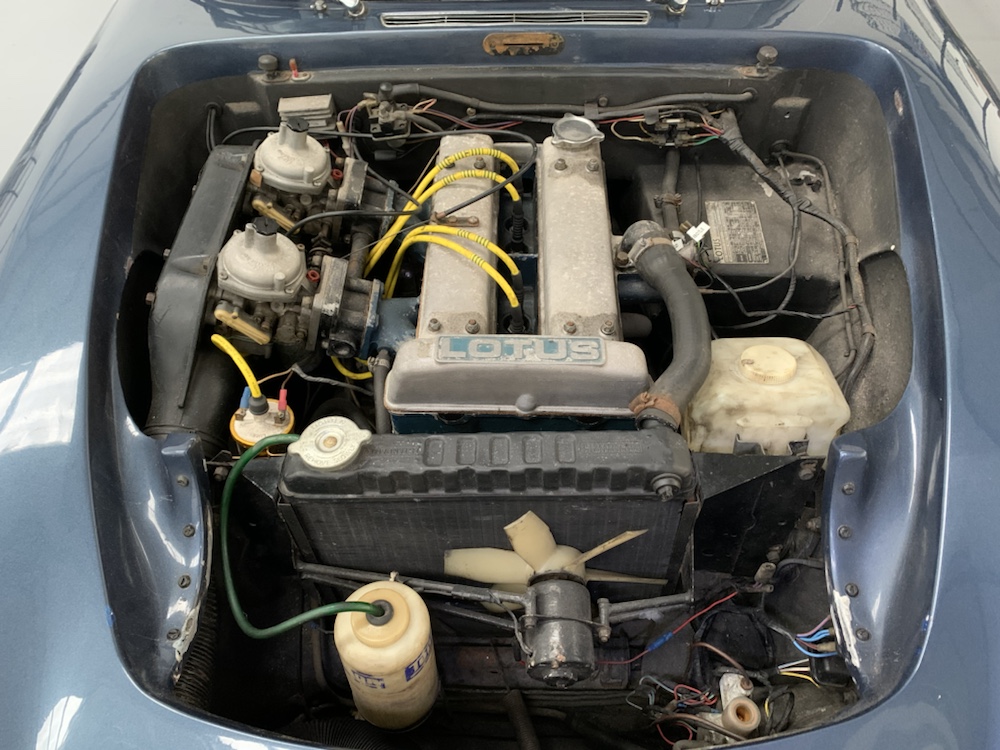
– Drain radiator, engine, transmission, rear differential
– Disconnect hoses, remove radiator
– Disconnect vacuum lines for head lights
– Disconnect water temp sensor and heater control valve on head
– Disconnect steering column, Remove the pinch bolt from the steering shaft coupling located near the front cross member. Under the instrument panel loosen the two U bolts securing the steering shaft. Pull the steering wheel back about 1 inch to disengage the splined steering shaft from the coupling.
– Disconnect throttle cable
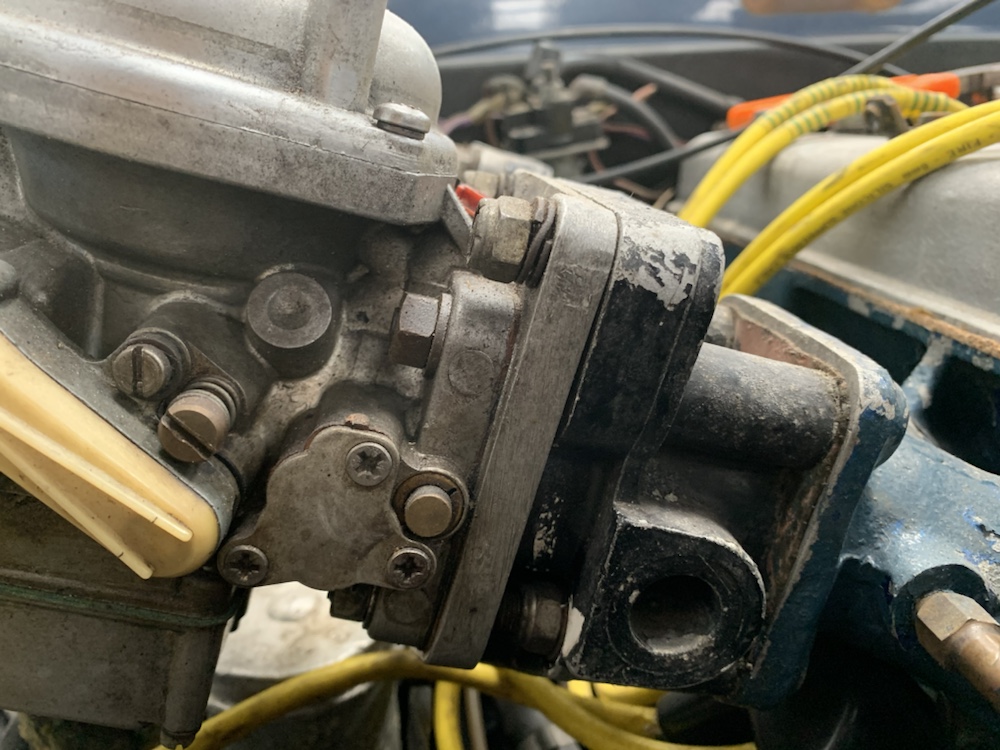
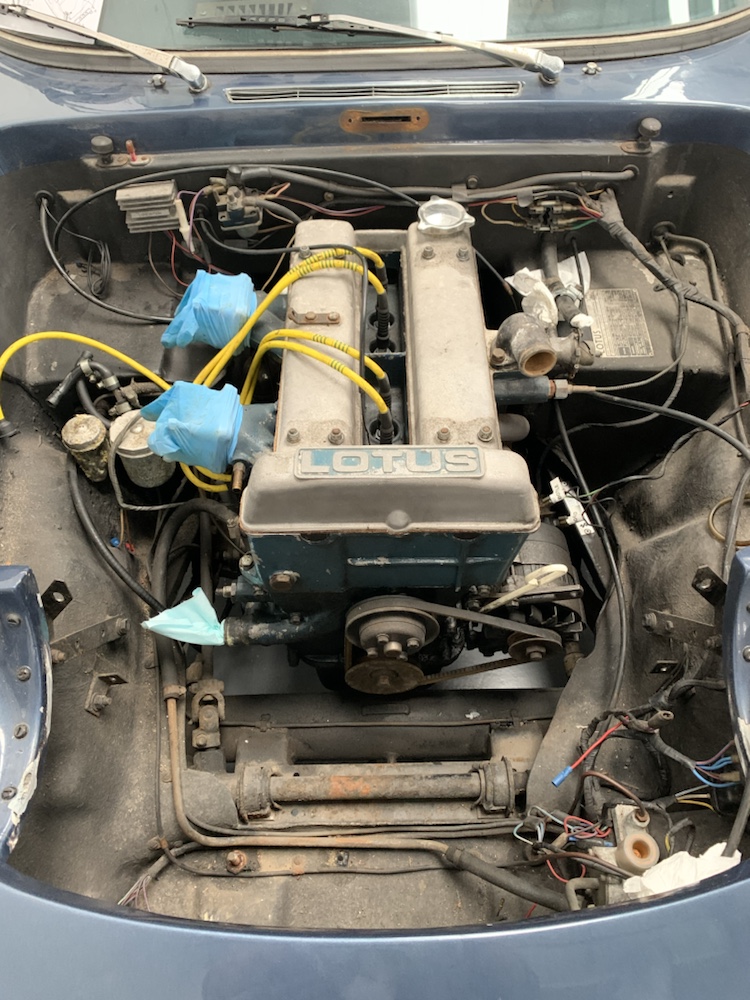
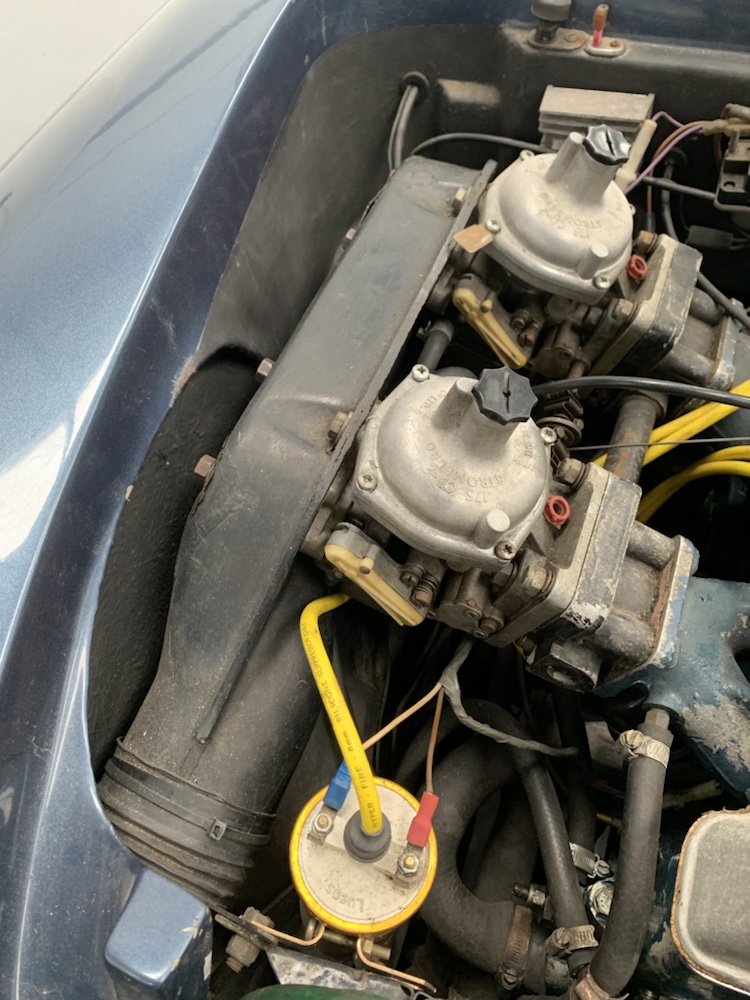
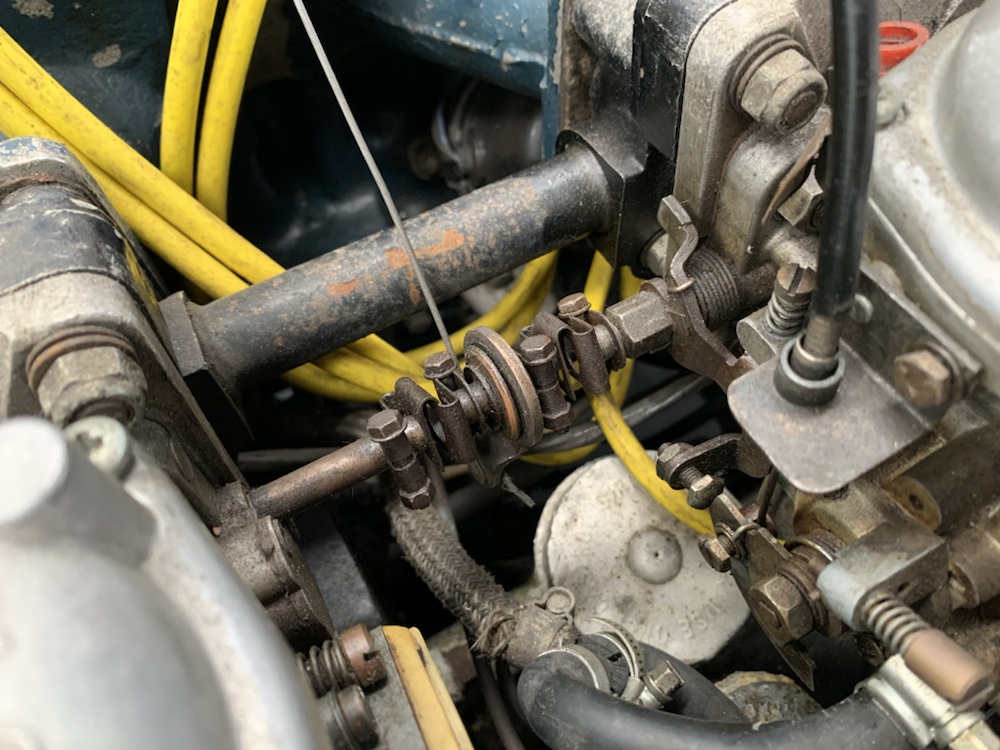
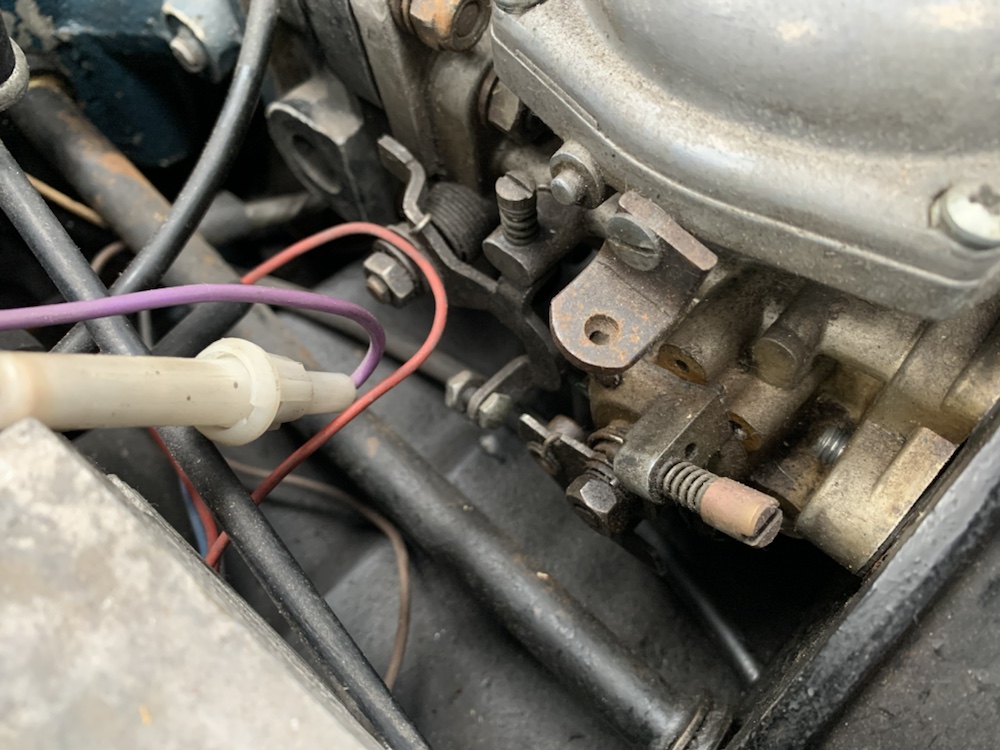
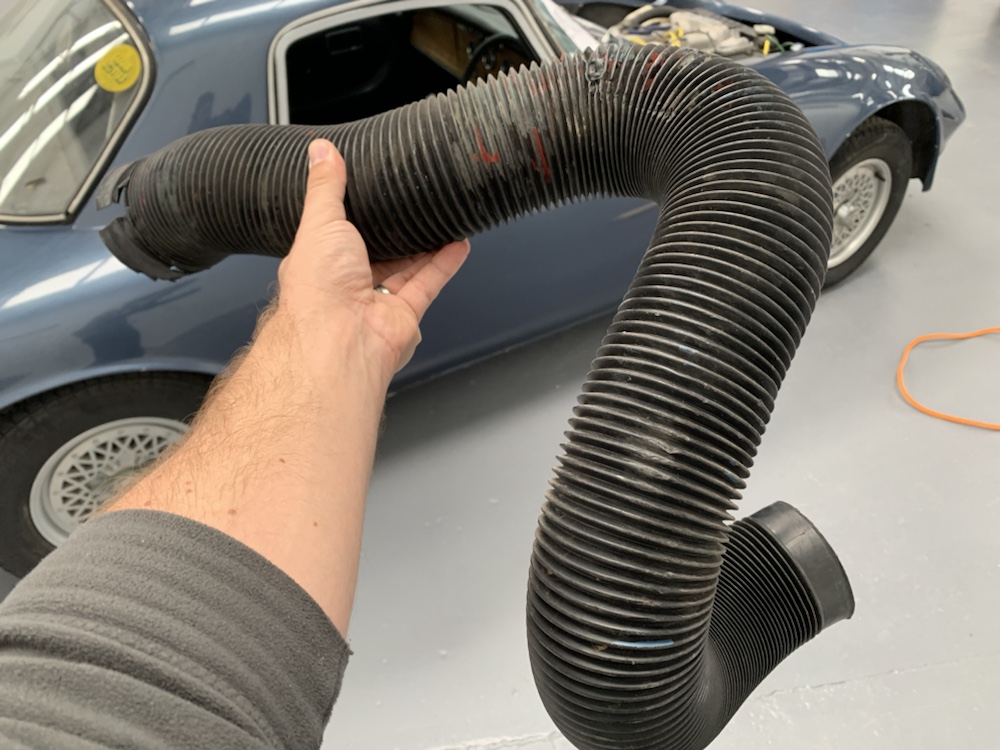
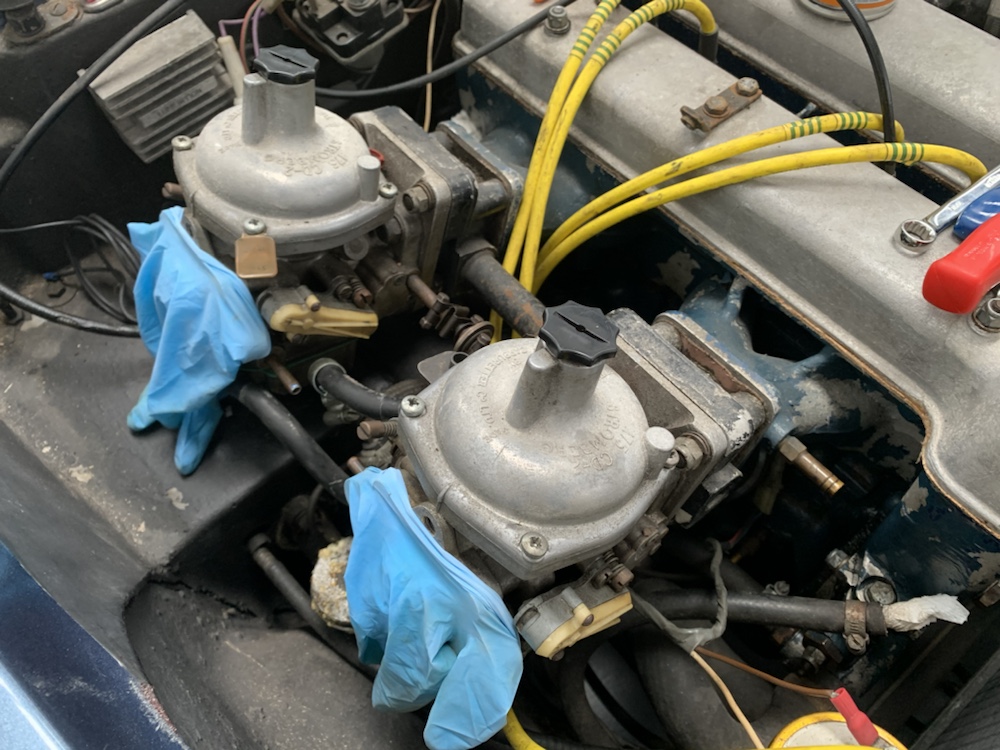
– Remove airbox, carburetors and rear studs
– Unfasten and remove tailpipe/muffler /exhaust pipe from header
– Disconnect speedo cable, parking brake cable
– Disconnect clutch slave cylinder
– Disconnect ignition switch wire from starter and all ground wires to frame
– Disconnect brake lines from master cylinder
– Disconnect oil pressure line from block
– Disconnect primary ignition and high tension wires to distributor from coil
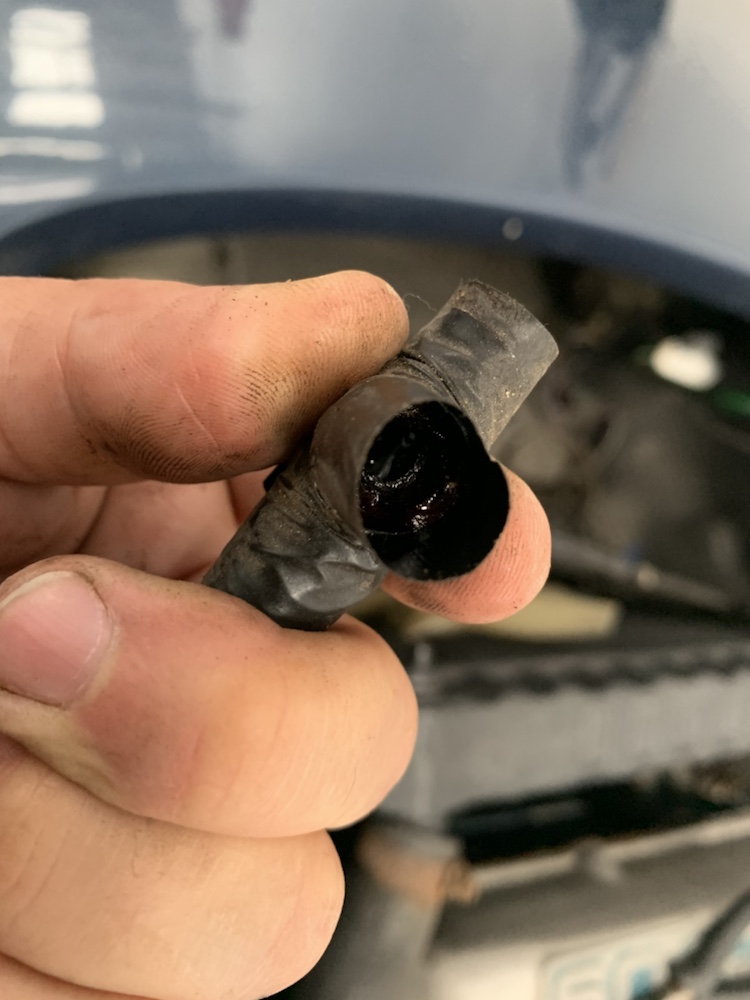
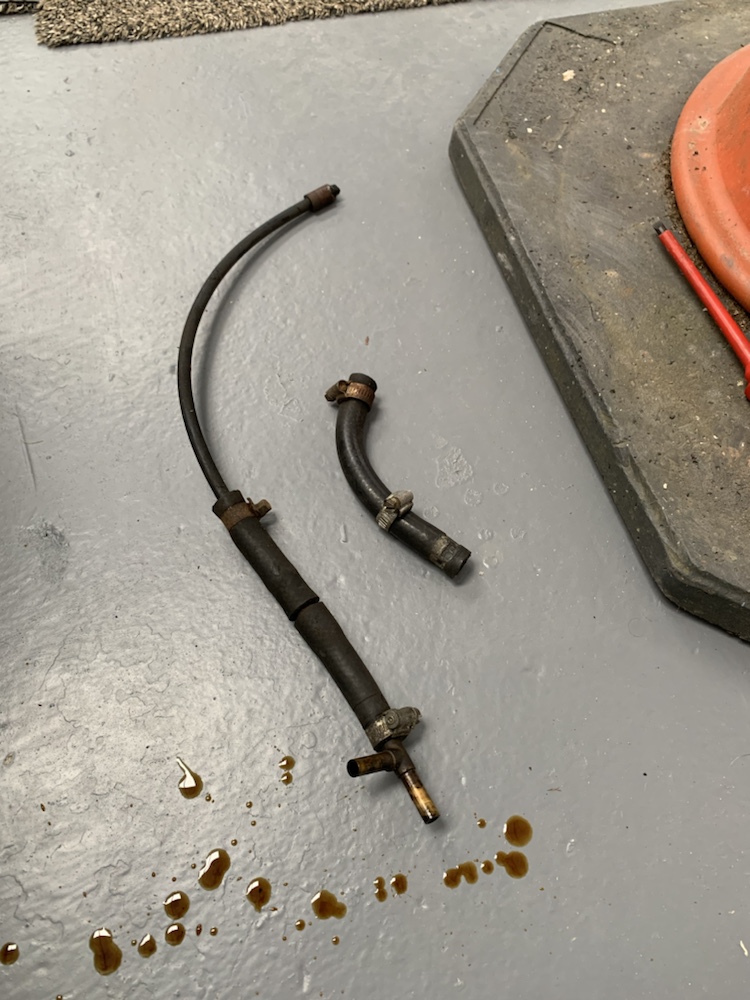
– Disconnect fuel line from fuel pump
– Remove transmission shift lever, plug tranny opening with wadded paper towel
– Remove horns mounted on front body/chassis through bolts
– Remove 12 UNC body chassis bolts from underneath
– Behind dash at the tunnel top, remove two UNF bolts on each side
– Behind carpet panel below the convertible top storage area remove the two UNF body/rear strut bolts
– Nearby on the outboard sides remove the bolts and clevis holding the seat
– To lighten the body for lift off: Remove fuel tank, Remove seats
– Remove the black ground wire connected to the differential rubber mount in boot.
– Remove the two seat belt inboard ring bolts that screw into the transmission tunnel portion of the frame.
– Remove the large rubber hole plug on the right side of the transmission tunnel, used to access the drive shaft u-joint.
– There are 16 bolts holding the body onto the chassis
– Check for any shims on frame and mark locations of them

The good news is, some parts were already struck off the list.

Bonnet is only held on with one big spring. Seats are already unbolted. It’s like being half way there.

Next up, fuel tank removal.


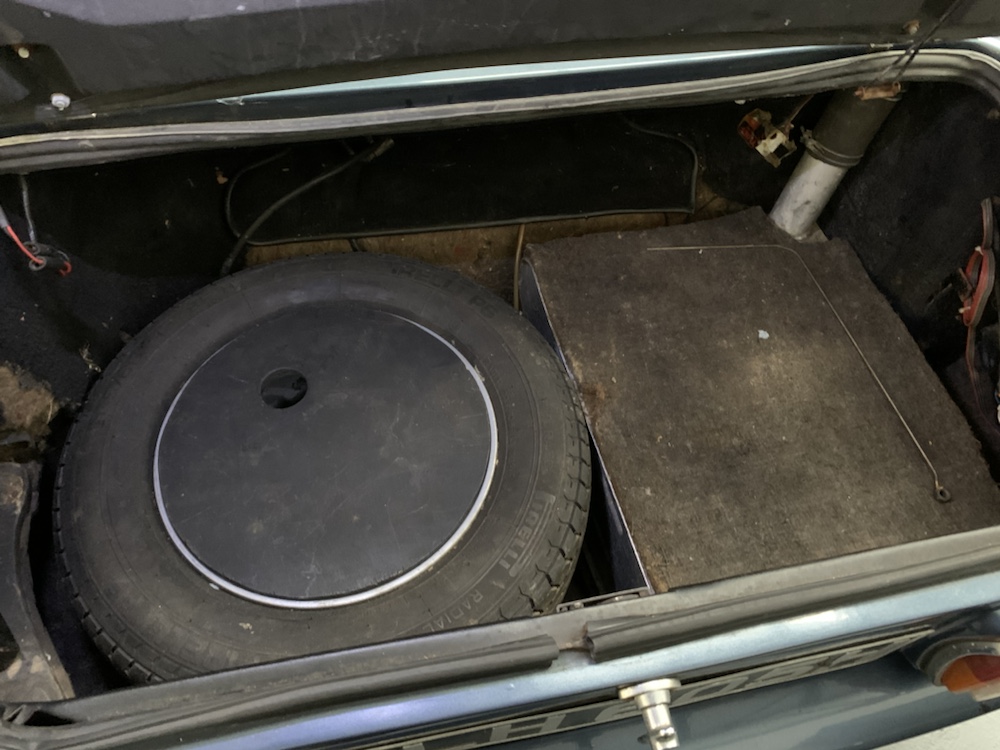
Access is nice and easy.

The tank and filler cap are joined with a section of rubber hose, this was the most challenging part of removing the tank really. The tube forming the neck of the tank and the tube coming down from the filler cap are both fairly long, so there’s not a lot of space in between, meaning the rubber hose is a long way on to each tube and there’s not a lot of wiggle space in the middle. This is escalated when you have a 50 year old hose which is suitably hardened. Wound up just reverting to being a proper Glaswegian and knifing the life out of it.


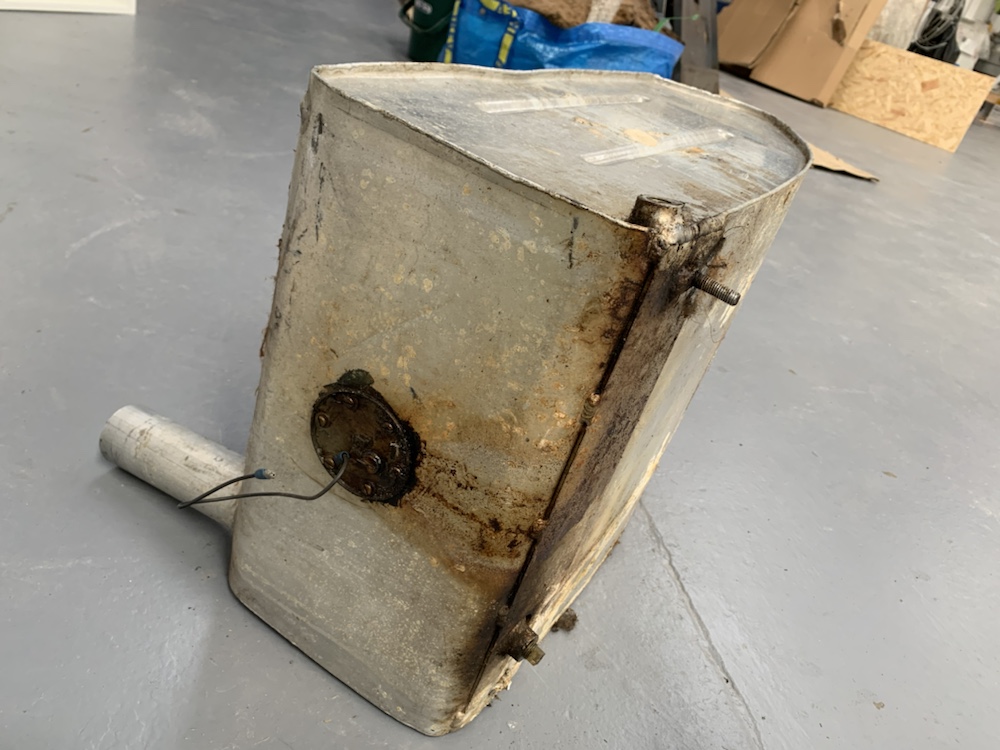
Some evidence of seeping from the sender unit so this will be resealed.


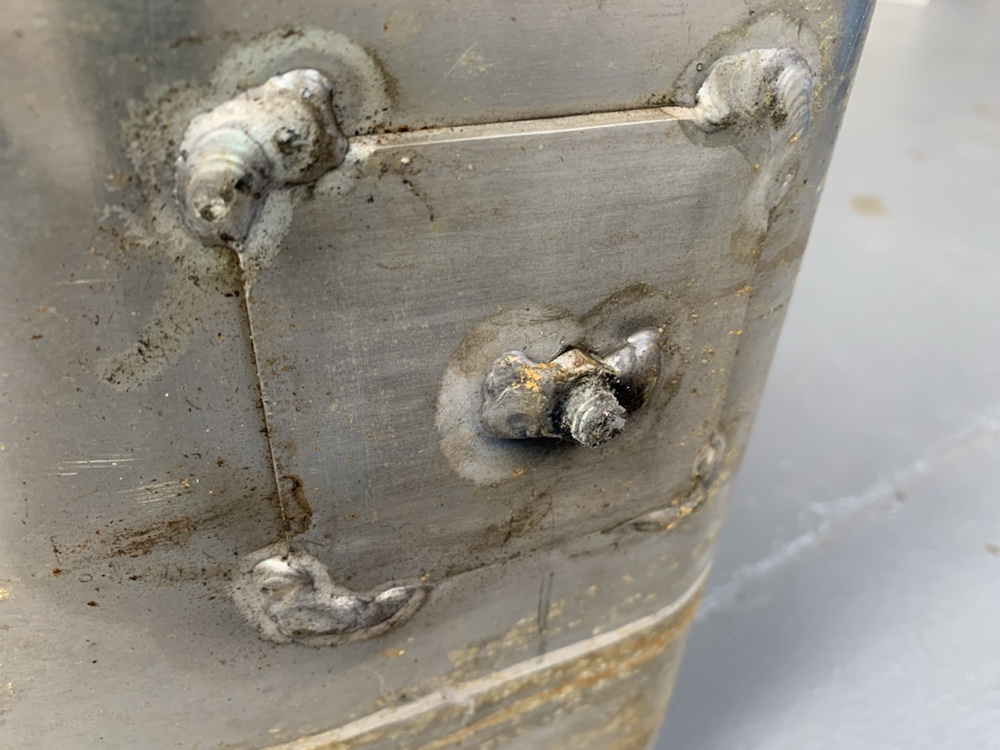
Annoying feature was the threads securing the tank. There are 3 threads welded to the tank, which secure the tank in the shell via nuts with large washers. Aluminium tank and threads, steel nuts and washers, struggle to believe this outcome wasn’t perceived as inevitable, even in the 1960s.


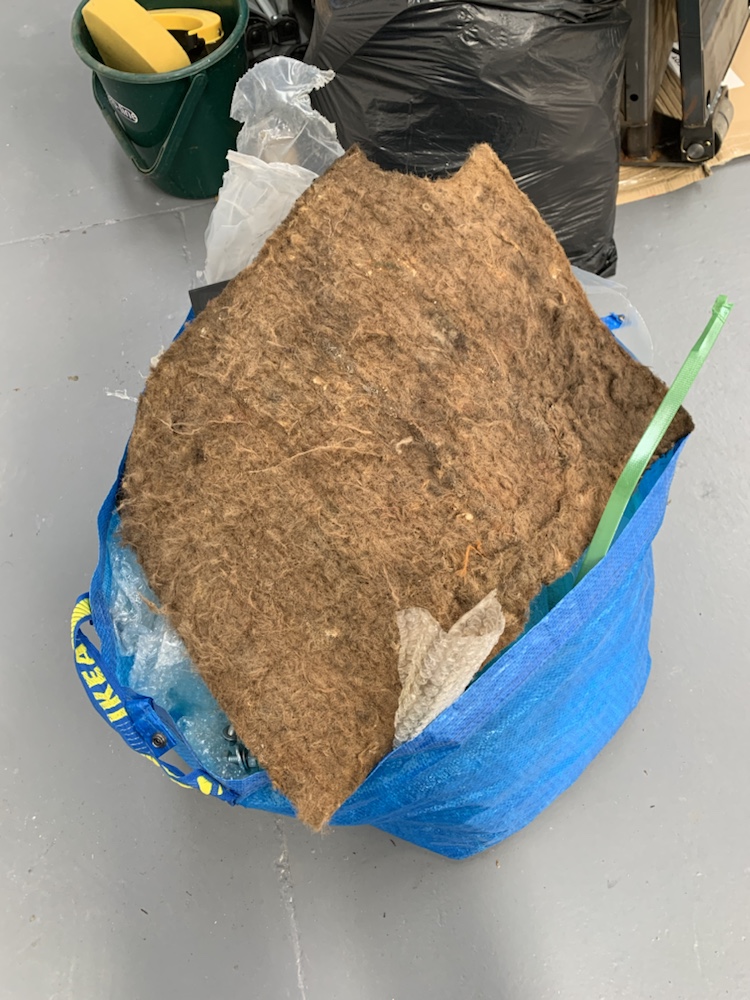
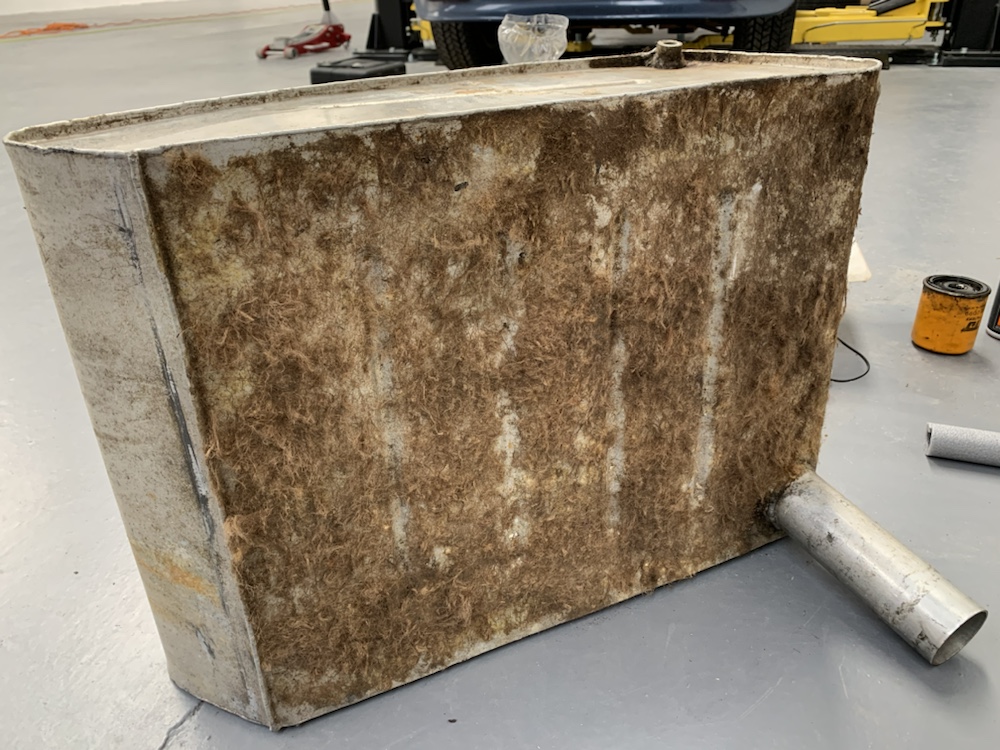
Yay, more bloody carpet fluff combined with half century old contact glue.


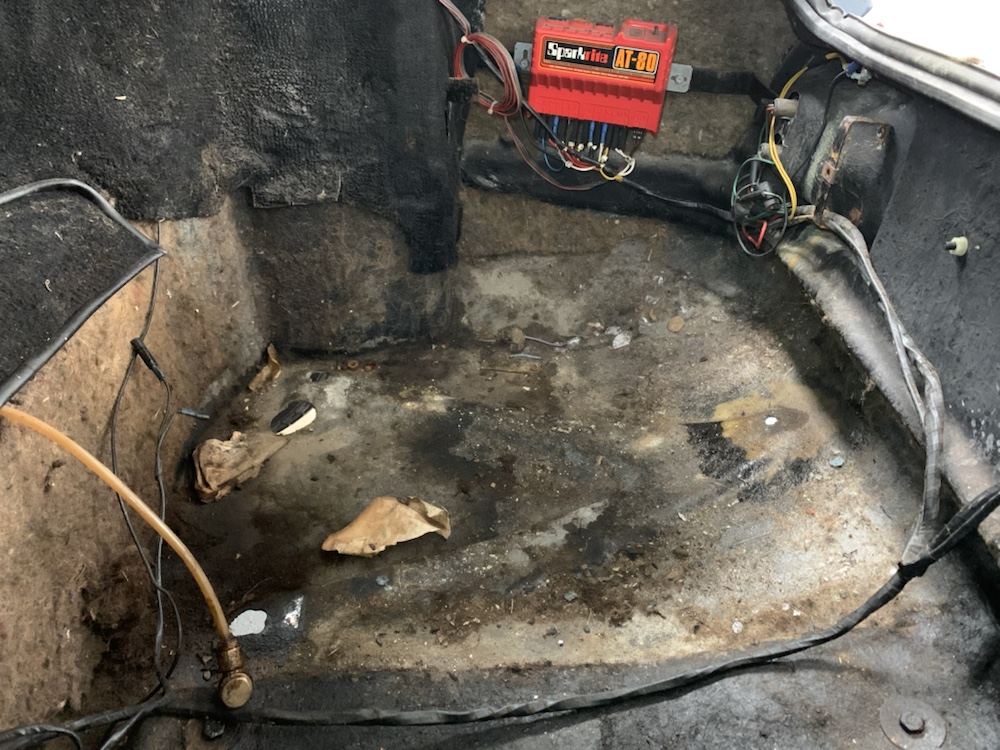
The boot now properly empty need a good clear out. Appears theres been some seeping from the banjo connection to the fuel line.


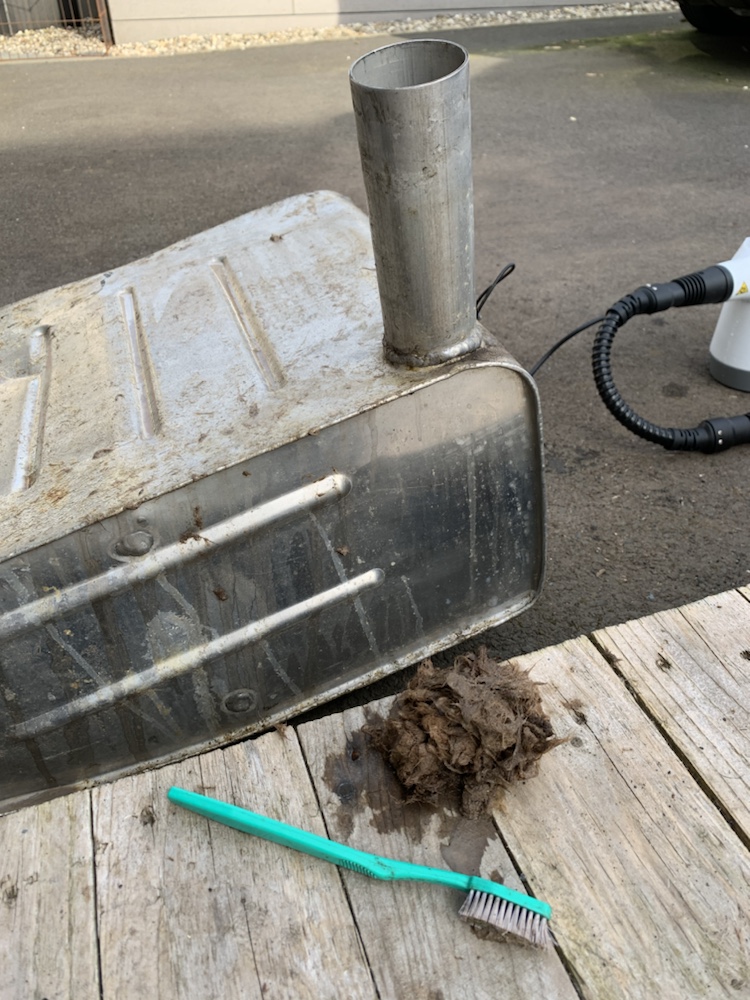
An afternoon with some glue & tar remover, various brushes and a steam cleaner saw off the remainung fluff
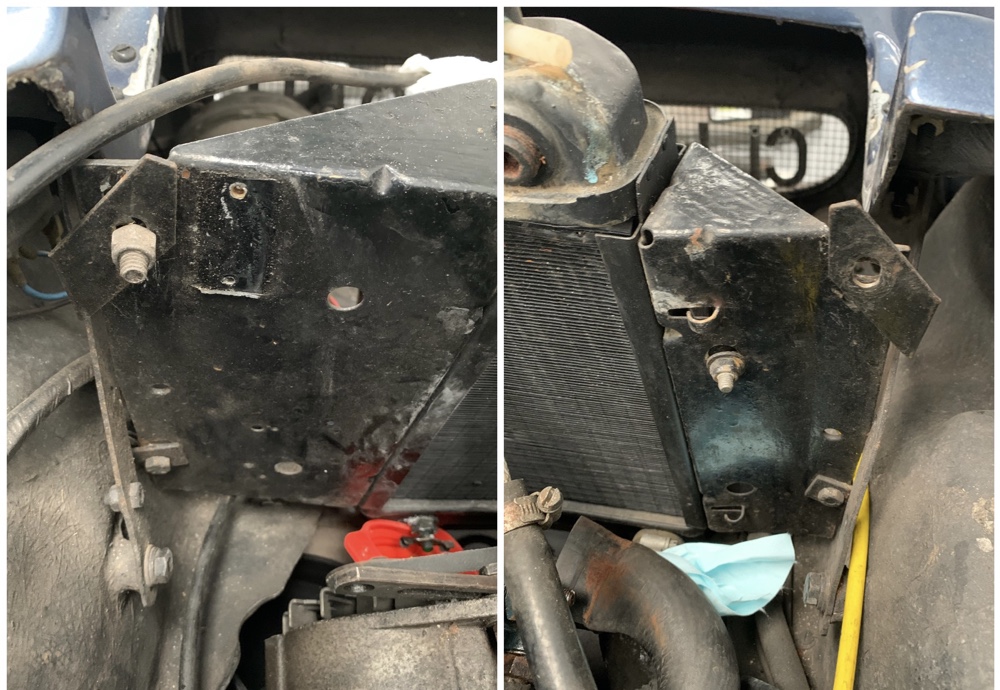
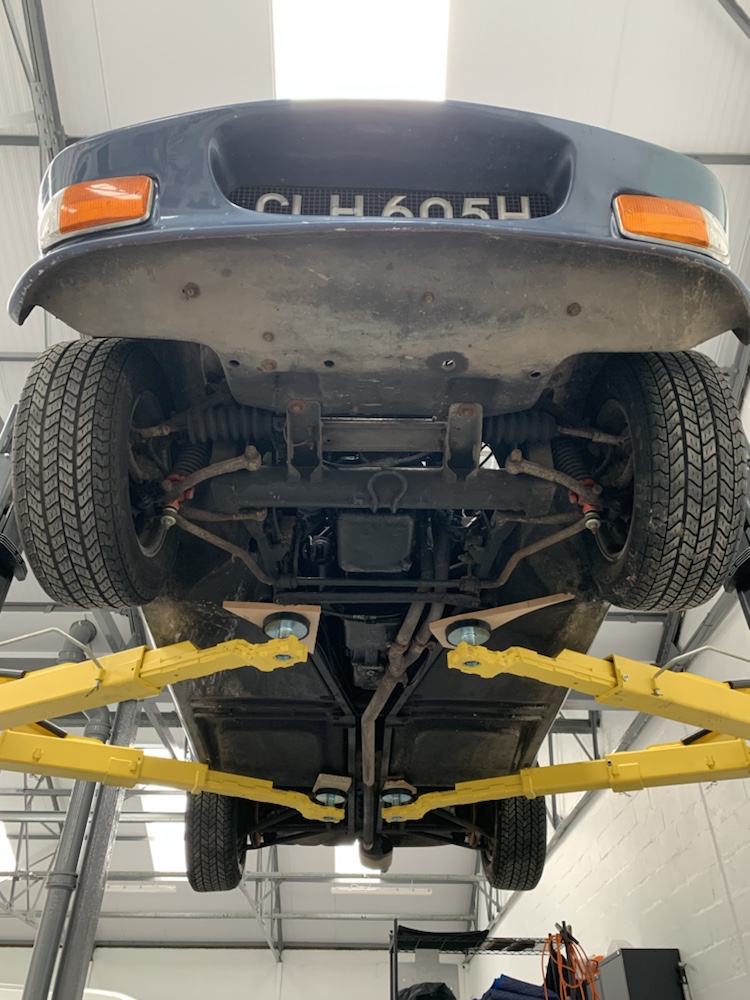
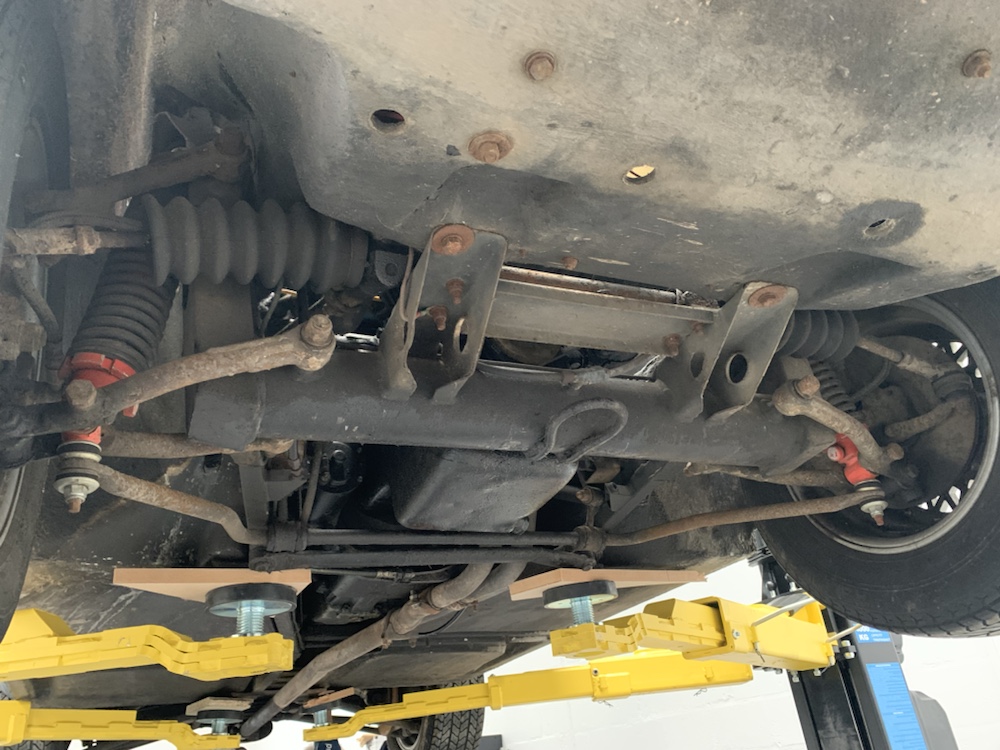
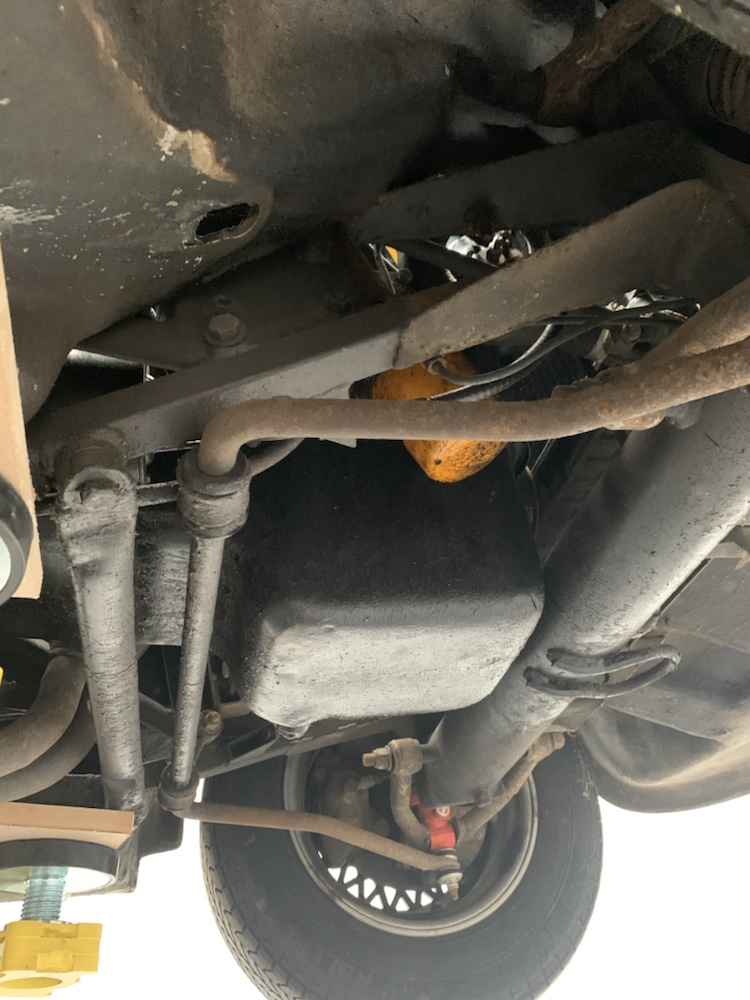
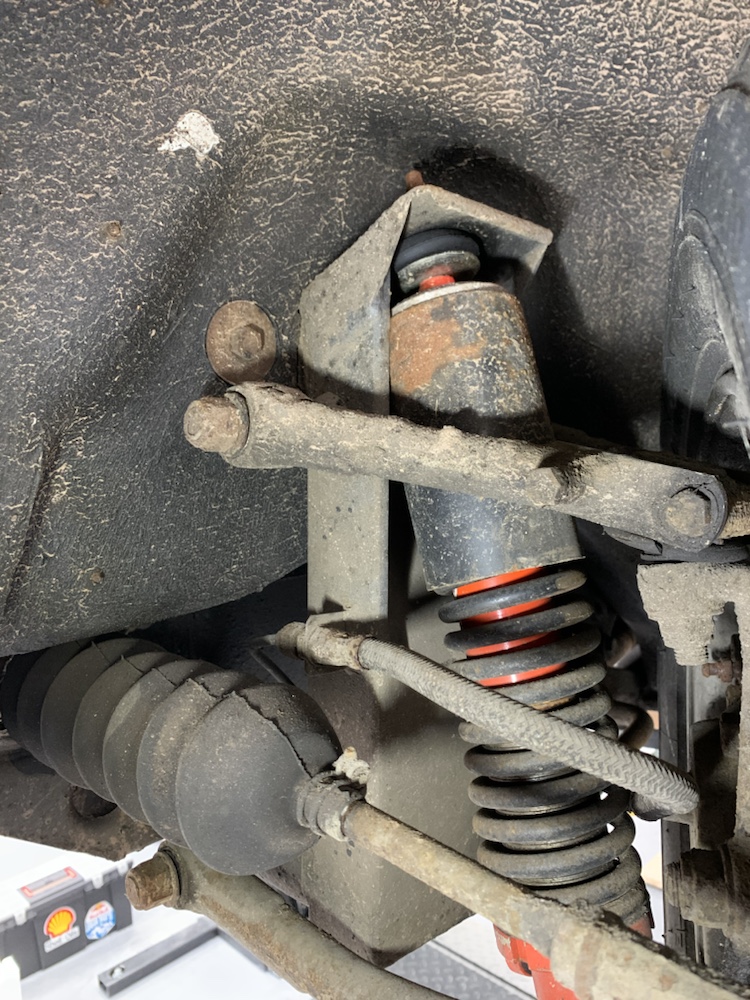
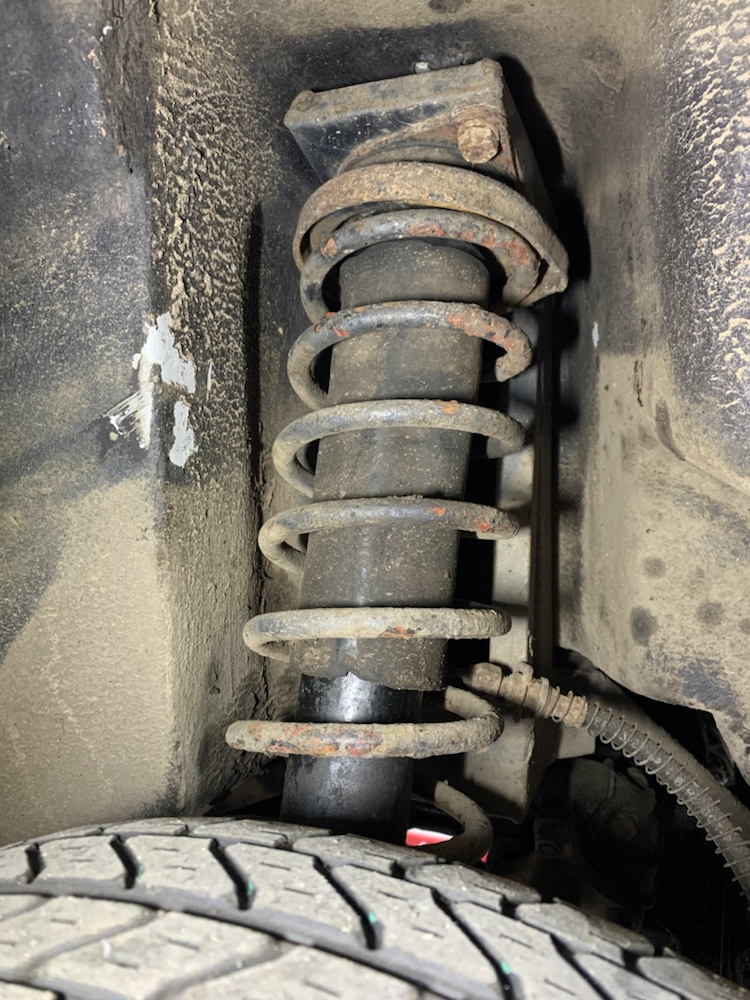
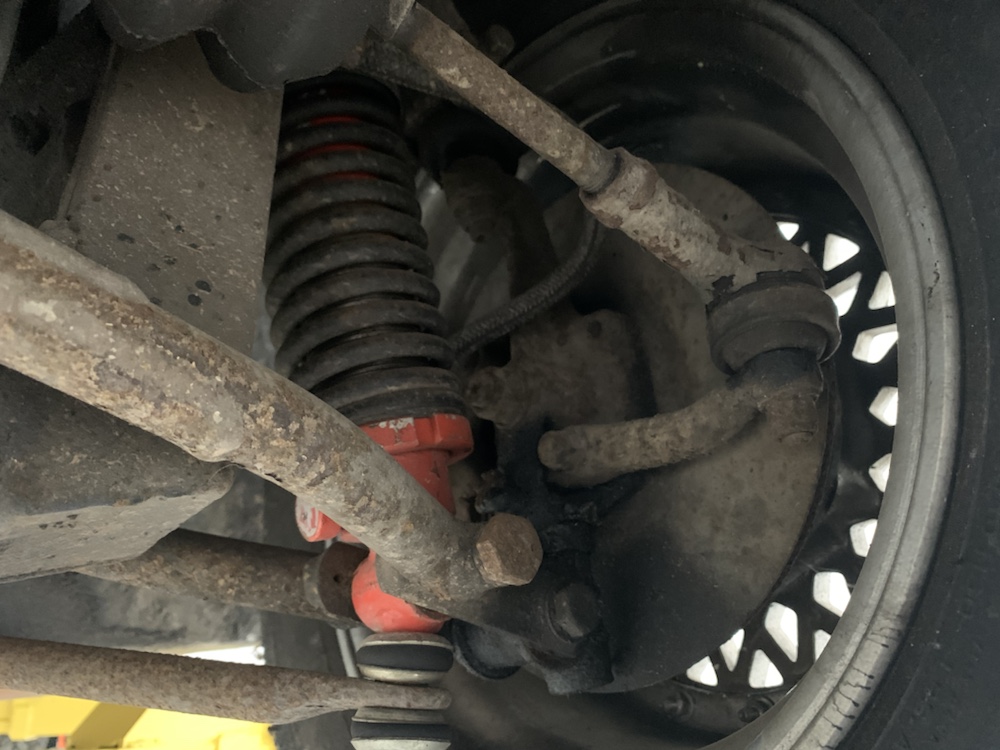