2014 Build

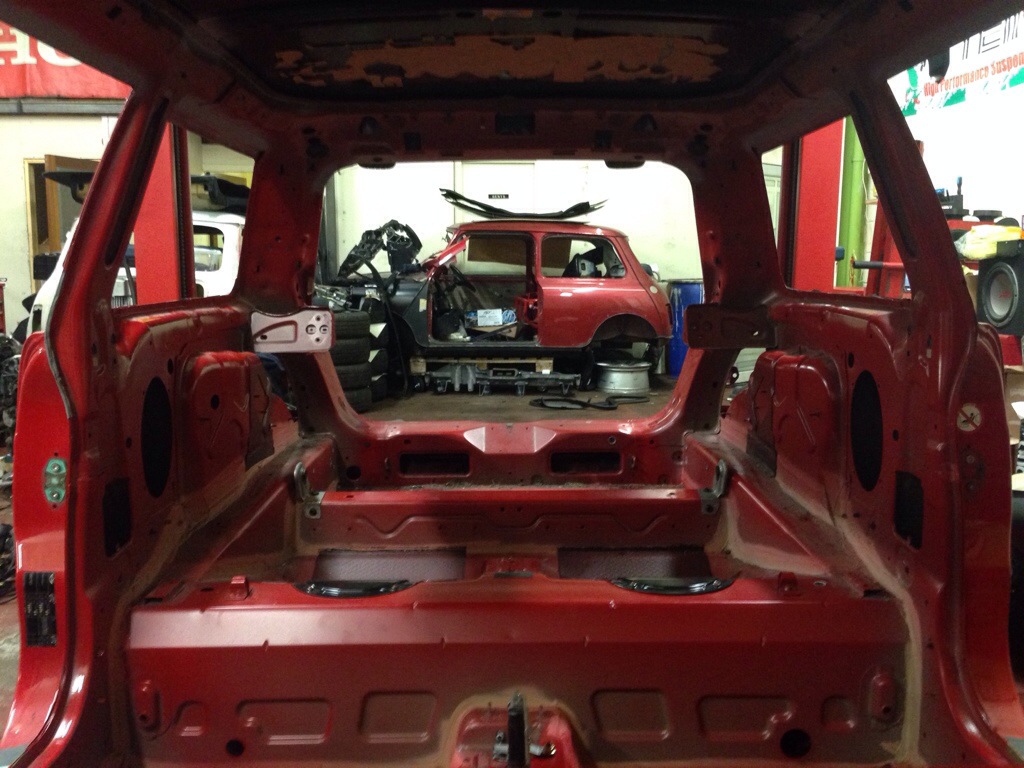
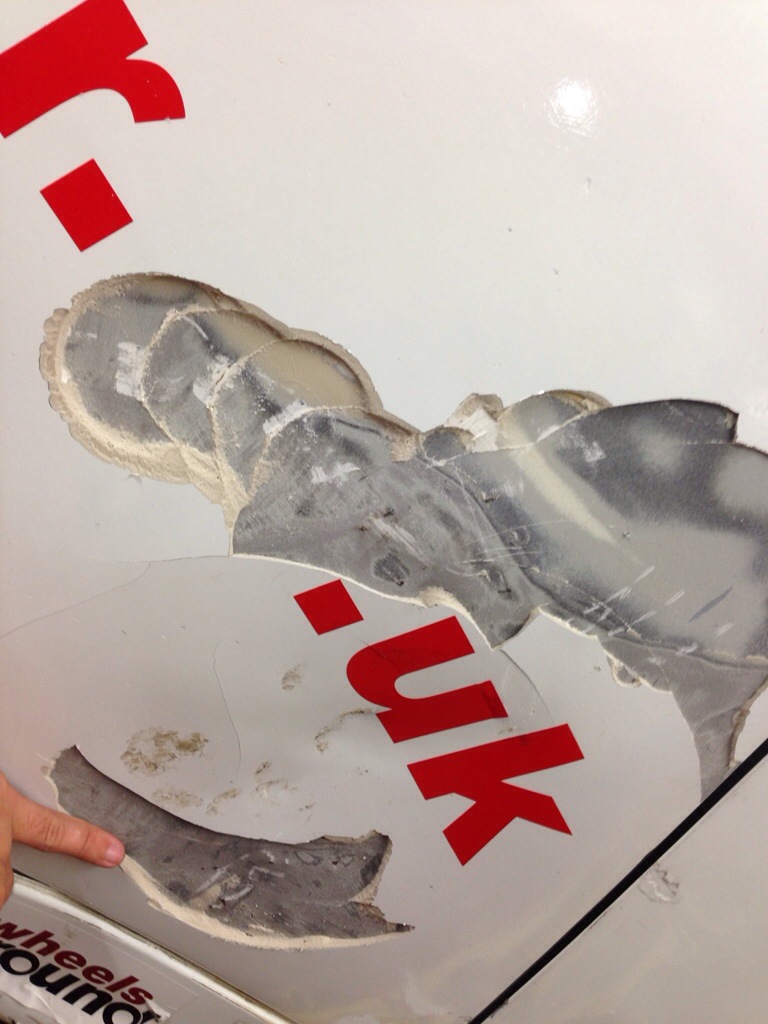
Out with the heat gun and scraper, sound deadening removal time. Once you get in to it, it’s not so bad, leaving the residue removal until all the seam sealer has been removed as well, no point scrubbing it down twice.

All the sound deadening out:

20131211-004257.jpg

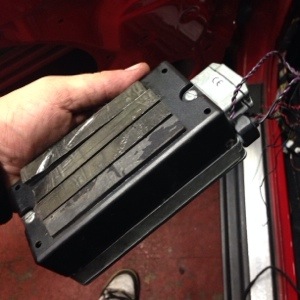
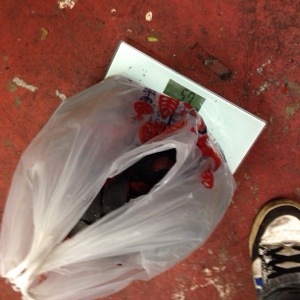
Ever wondered what 5.7kg of sound deadening, in a Tesco carrier bag, looks like? Here’s your answer:

20131211-004538.jpg

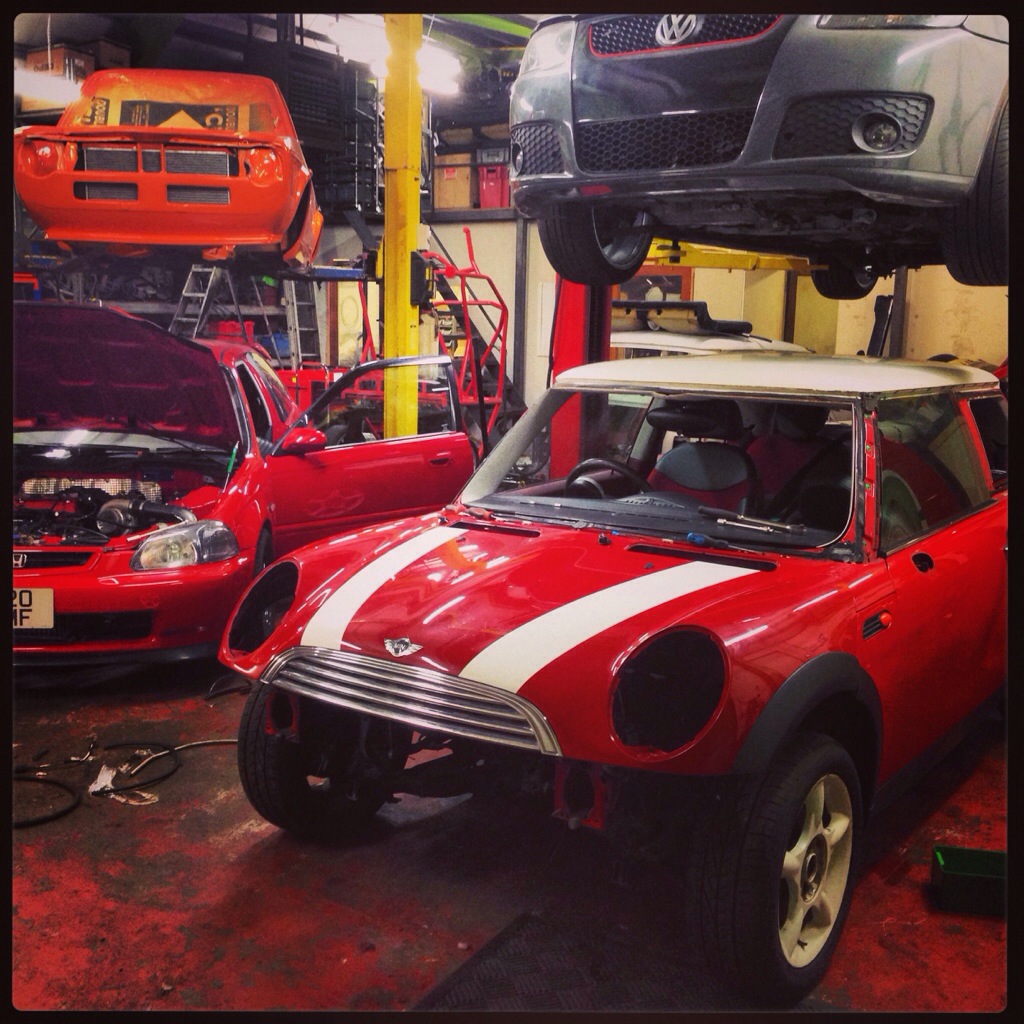
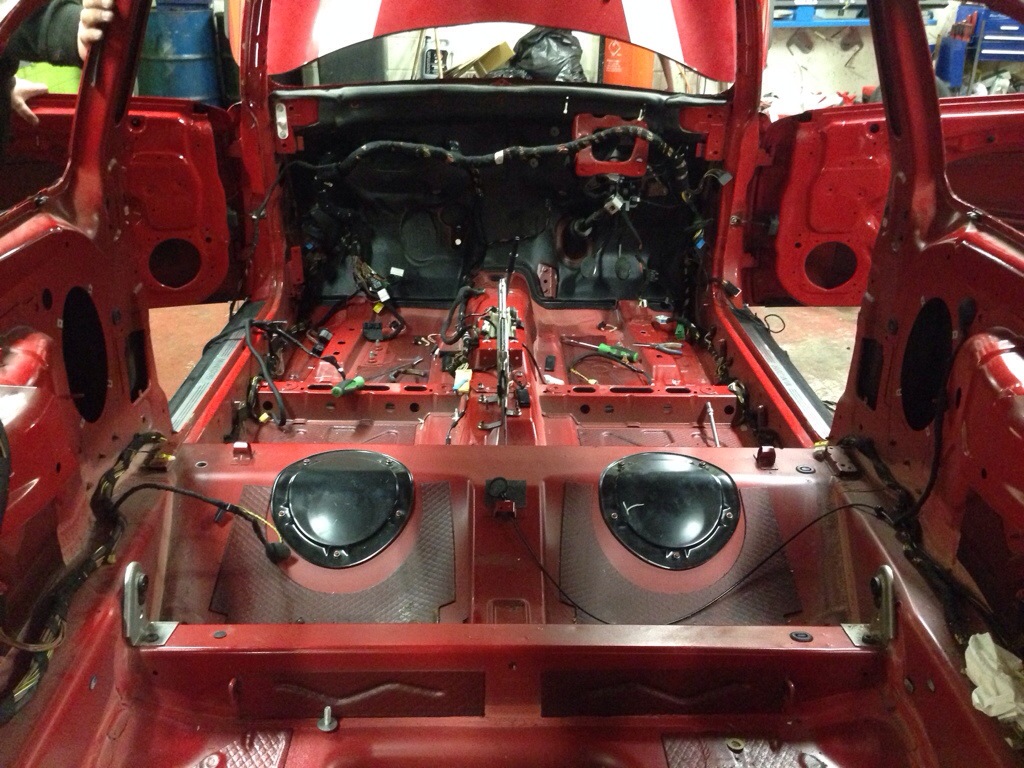
Bit of progress over the course of the night:

20131211-004738.jpg

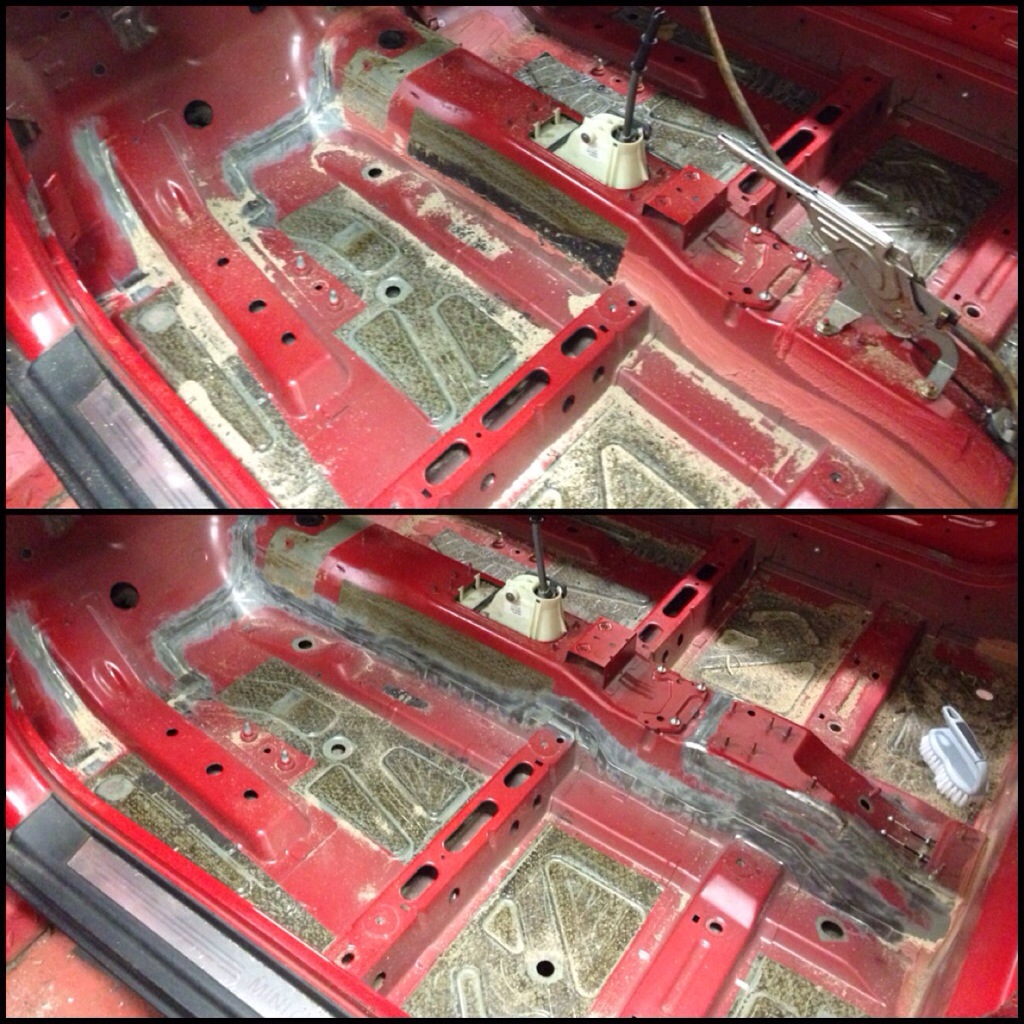
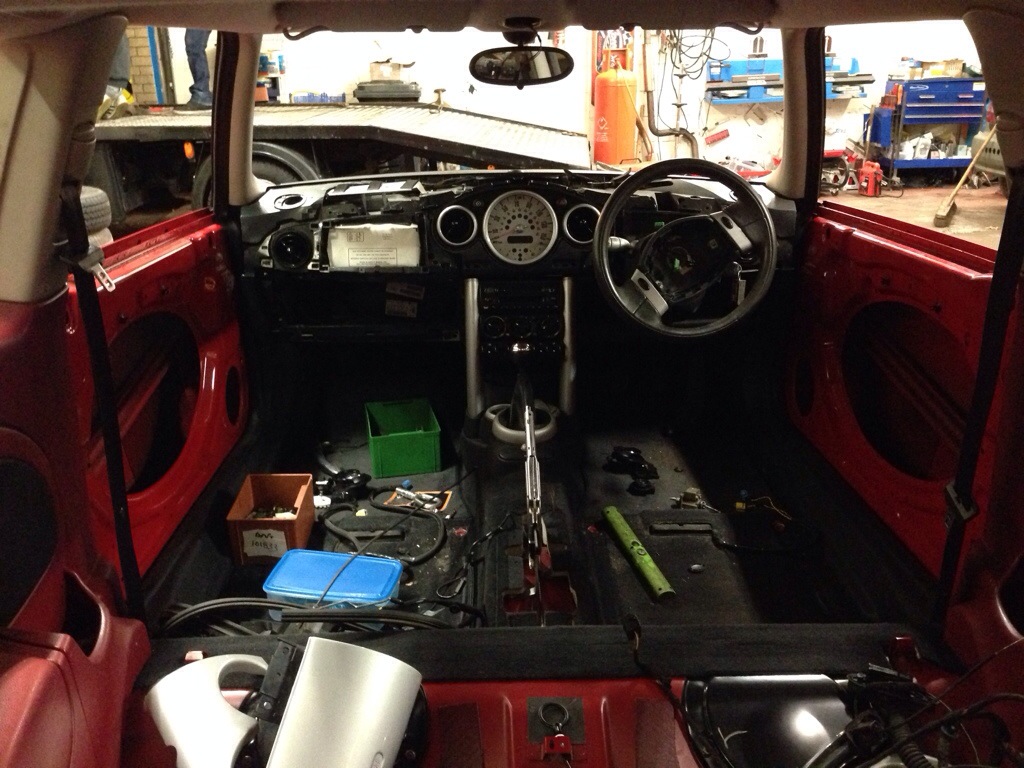
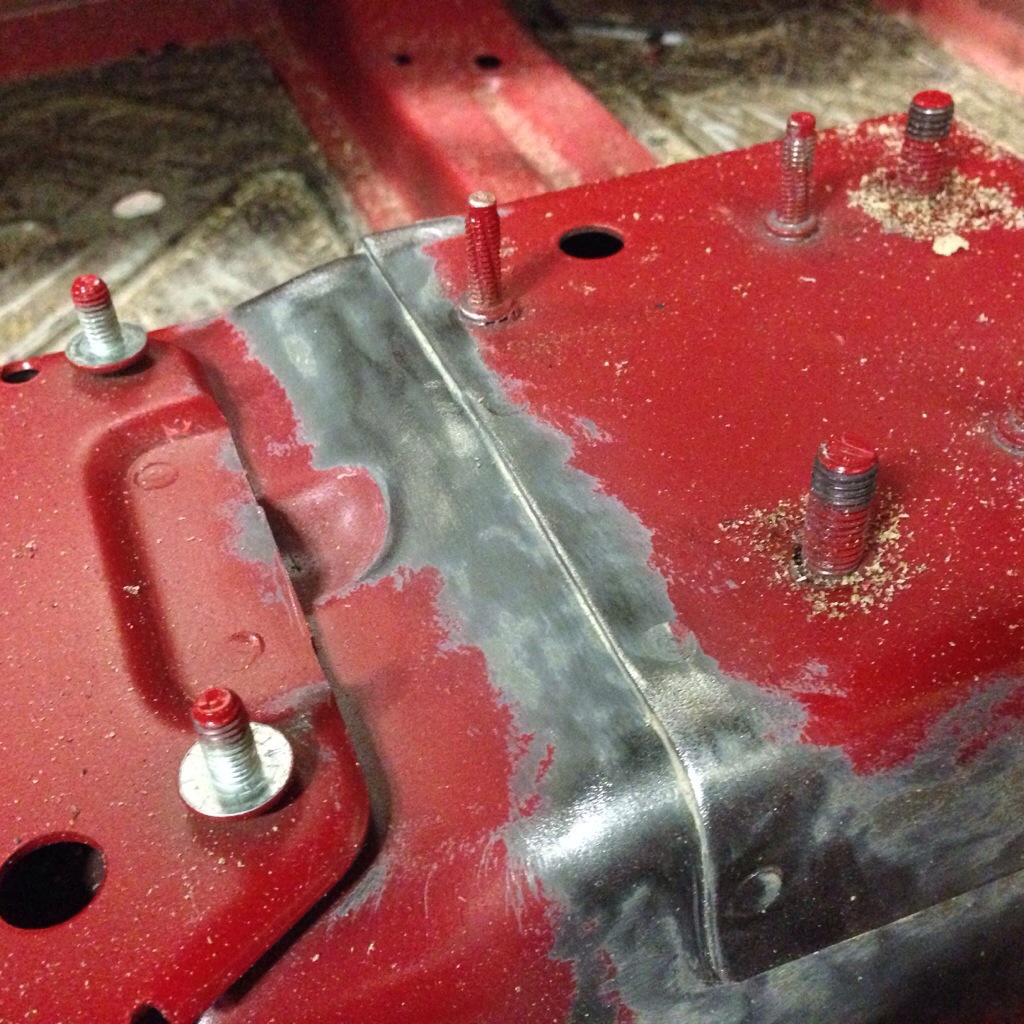
Couple of closer in shots around the tunnel at the start of the handbrake skin:

20131211-004842.jpg

20131211-005055.jpg

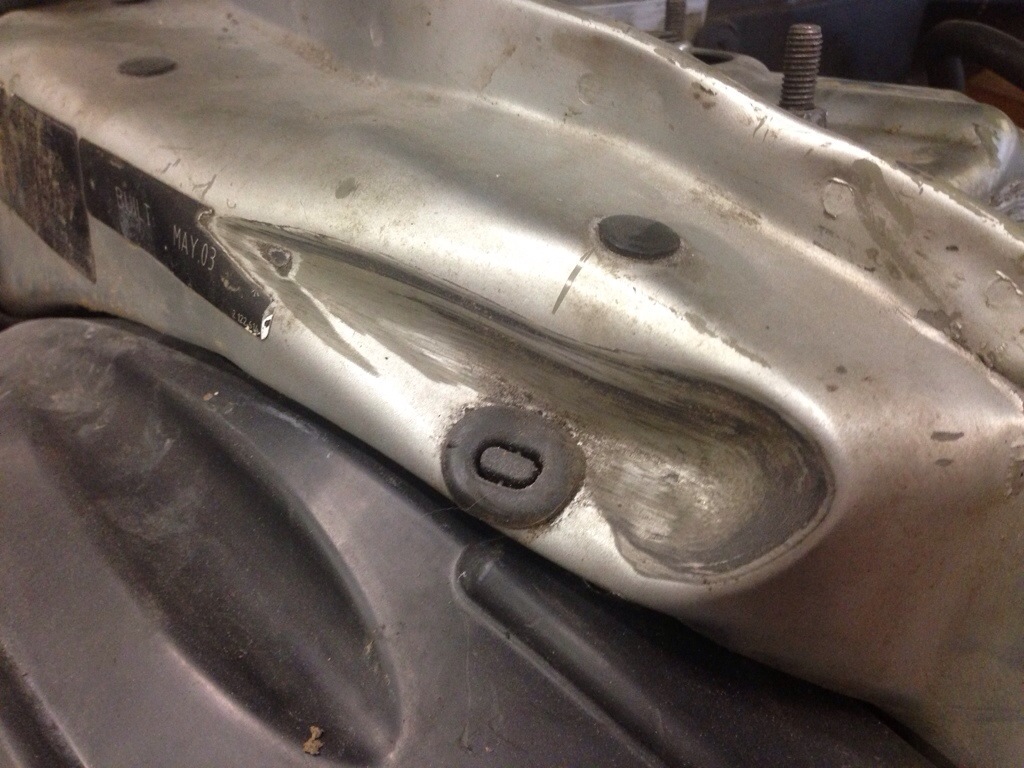
Out with the grinder and the luggage strap securing points are gone, quick skim of filler before paint and there will be no evidence they existed:

20131211-004853.jpg

The loom that is.

Removed the remainder of the engine bay gubbins and pulled the loom out. Really is incredible just how much wiring is packed in to a little car! Thankfully a ton of it can get ripped out for racing.

20131210-004557.jpg

20131210-004614.jpg

20131210-005400.jpg

Now it’s heat gun and scraper time. Here’s a half and half which is where we left it tonight.

20131210-004719.jpg

Interior Out

After removing all the glass, the interior was up next.

Spec’d in a delightful red cloth with burgundy door cards and trim, it was hiding the 132k miles pretty well in fairness. Once we got to pulling it apart we found a few more interesting bits and pieces.

Removing the rear cards, nigh on every trim clip was mashed and mangled and not really holding anything in place. Then we spotted what looked like an aerial wire. Bit more poking around, this has the optional additional alarm system with tracker, ultrasonic sensors and tilt sensor. Presumably this was dealer fit which would explain additional wiring being zip tied to the main harness rather than properly integrated. (It doesn’t explain the shockingly poor quality of work, however!)

20131209-131817.jpg

20131209-131839.jpg

20131209-131849.jpg

20131209-131906.jpg20131209-131918.jpg

20131209-131935.jpg

So, first part of any build, strip and survey.

Driving both cars briefly to check over engines, transmissions and suspension components before we started. Then came the teardown.

At this stage we were vaguely harbouring thoughts of rebuilding the donor racecar, then we got a proper look at the state of it…

Dented turret/leg. Any transverse loading to this leg is bad news in the long run. This is a key weakness identified on our racecars where a little chassis flex starts popping driveshafts:

20131208-184847.jpg

Cracked mount someone’s spat some weld at:

20131208-185059.jpg

Half inch of cataloy on the rear quarter:

20131208-185220.jpg

Other highlights included an overflow bottle that looked like it was full of sewage, dented rims and sliced tyres, battery held in (loosely) with a piece of cut down ratchet strap material, re-skinned roof that was an inch higher at the back than the front, replacement door that hadn’t even had the speaker taken out, exhaust melting the rear bumper and more bullet connectors than Maplin.

As they say in the movies: Fin

20131208-190005.jpg

2014 Begins…

To give an insight in to the build process for these racecars, I will be doing a bold as we build my new car for 2014.

“We” is myself and Gerry from PerformanceTek, with a reshell also being done on my girlfriend’s MINI whilst we’re at it.

Here’s the donor for my racecar, previously owned by various racers and a veteran of many years in the championship. She’s had a tough life and it shows, but the engine and gearbox are good and the suspension and cage will be finding their way in to the new shell.

20131207-165926.jpg

20131207-165940.jpg

New shell is being denoted by this 2001 Cooper sourced from the hallowed pages of eBay. With 132,000 miles on the clock she was still remarkably tight and the engine ran sweet but the gearbox has the trademark Midland rumble.

20131207-170207.jpg

20131207-170220.jpg

20131207-170236.jpg

20131207-170251.jpg